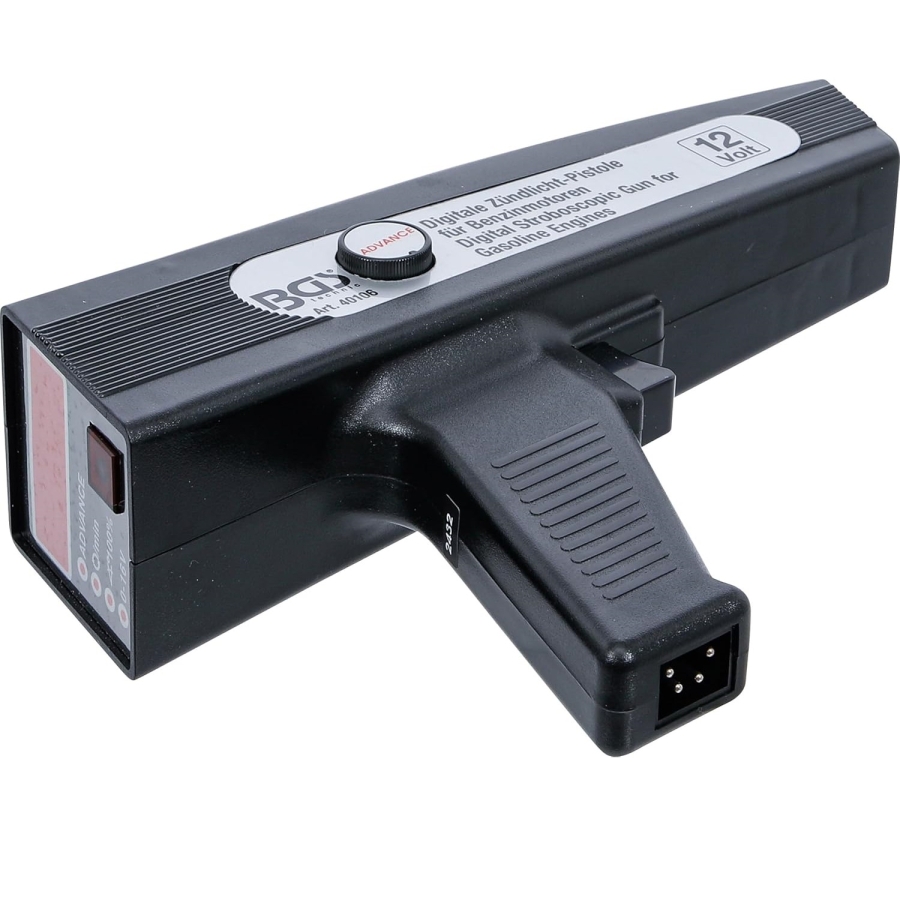
Digital Timing Light for Petrol Engines
-
Code:40106
-
Weight:0.880 Kgs
Overview:
✔ Professional digital timing light for petrol engine diagnostics
✔ Electronic timing advance adjustment from 0°–60°
✔ Suitable for engines without timing marks on the pulley
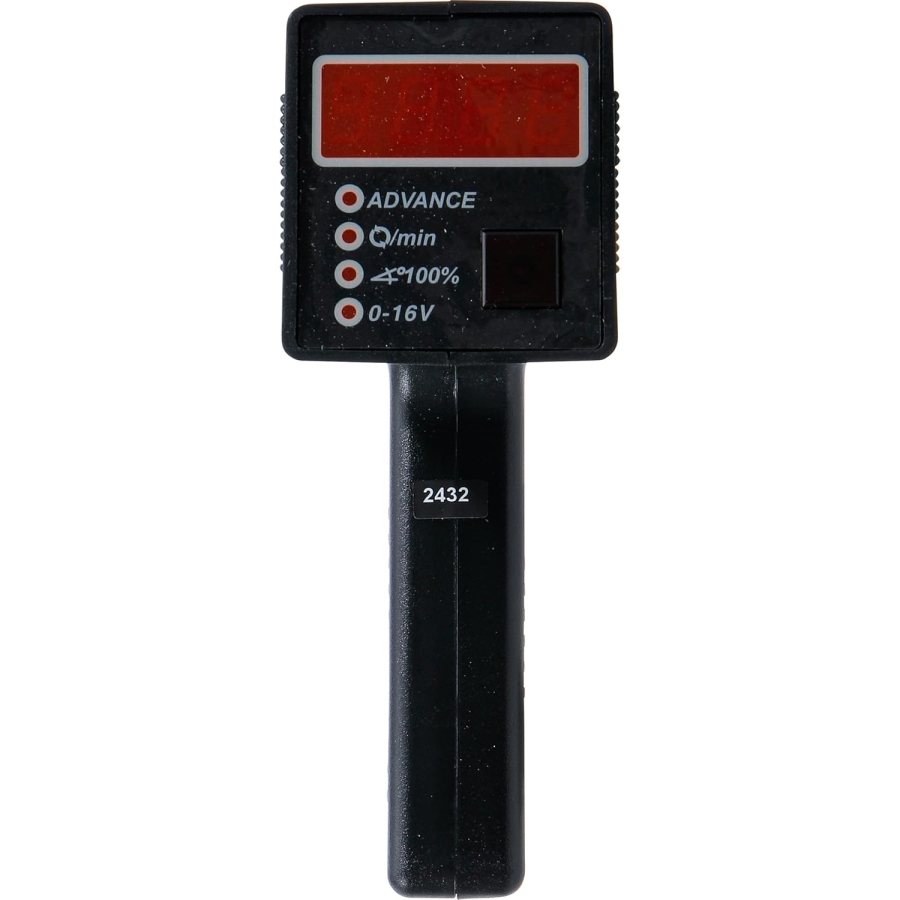
✔ Large 7-segment display for easy reading of measurements
✔ Measures engine RPM, dwell angle and voltage values
✔ Compatible with 2, 3, 4, 5, 6 and 8-cylinder engines
✔ Voltage and voltage drop testing function
✔ Accurate timing adjustment for engine tuning and maintenance
✔ Designed for 12V vehicle systems

The Digital Timing Light for Petrol Engines is a professional diagnostic and adjustment tool designed for accurate ignition timing analysis and engine tuning.
The electronic timing adjustment function allows precise flashing and visualization of timing marks, making it especially useful for engines without angle markings on the crankshaft pulley.
The integrated digital system with a large and easy-to-read 7-segment display enables accurate monitoring of engine parameters such as RPM, dwell angle and voltage values.
Its multifunction diagnostic capabilities make the tool suitable for ignition timing adjustment, engine diagnostics and workshop maintenance applications.
Features
✔ Electronic timing adjustment from 0°–60°
✔ Suitable for petrol engines
✔ High-visibility digital 7-segment display
✔ Engine RPM measurement
✔ Dwell angle measurement
✔ Voltage and voltage drop testing
✔ Suitable for engines without timing marks
✔ Compatible with multiple cylinder configurations
✔ Designed for workshop applications
Technical Specifications
- Ignition timing range: 0°–60°
- Dwell angle range: 0–99.9%
- Display type: Digital 7-segment display
- Cylinder compatibility:
- 2-cylinder
- 3-cylinder
- 4-cylinder
- 5-cylinder
- 6-cylinder
- 8-cylinder
Diagnostic Functions
- Ignition timing adjustment
- Mechanical ignition advance testing
- Vacuum ignition advance testing
- Dwell angle measurement
- RPM measurement
- Voltage measurement
- Voltage drop testing
Applications
Suitable for:
✔ Ignition system diagnostics
✔ Engine tuning
✔ Engine timing adjustment
✔ Automotive maintenance
✔ Automotive workshops
✔ Professional and DIY use
Ignition Timing Light – Overview & Instructions
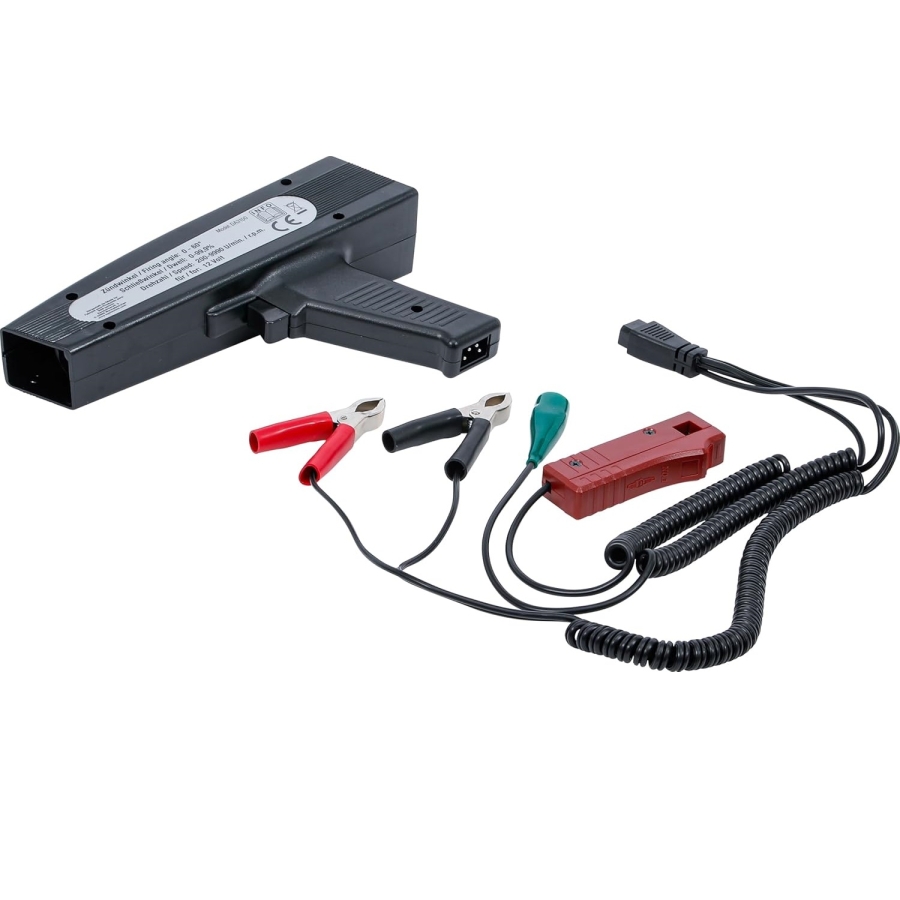
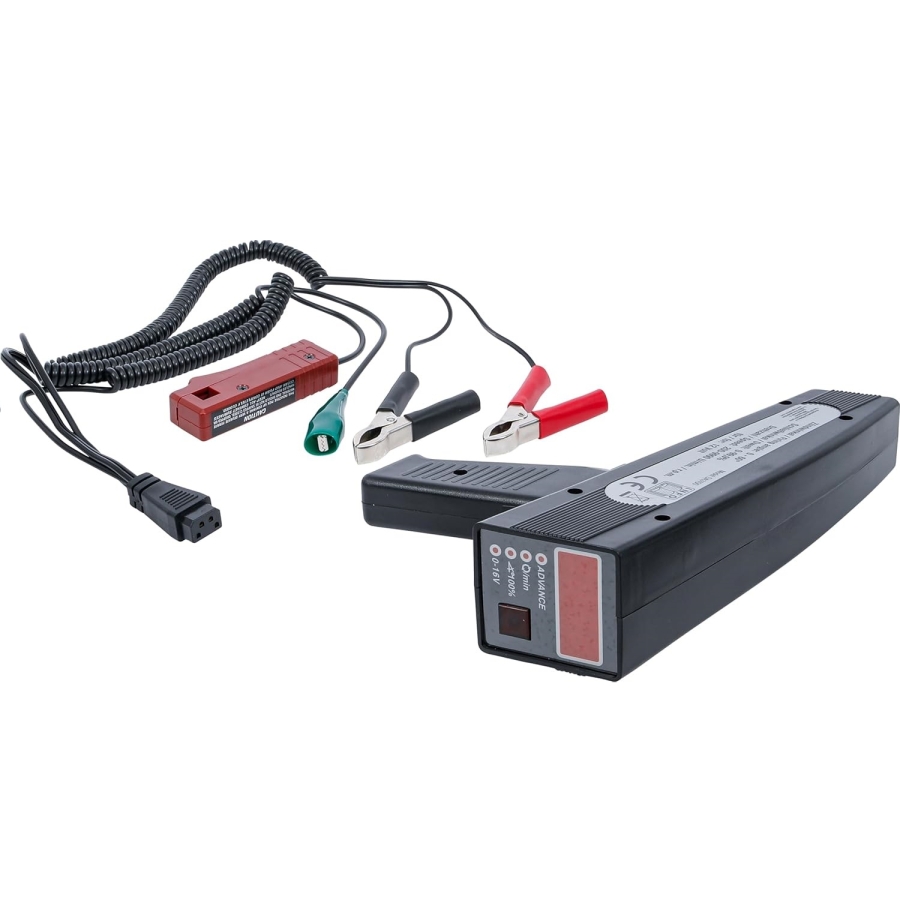
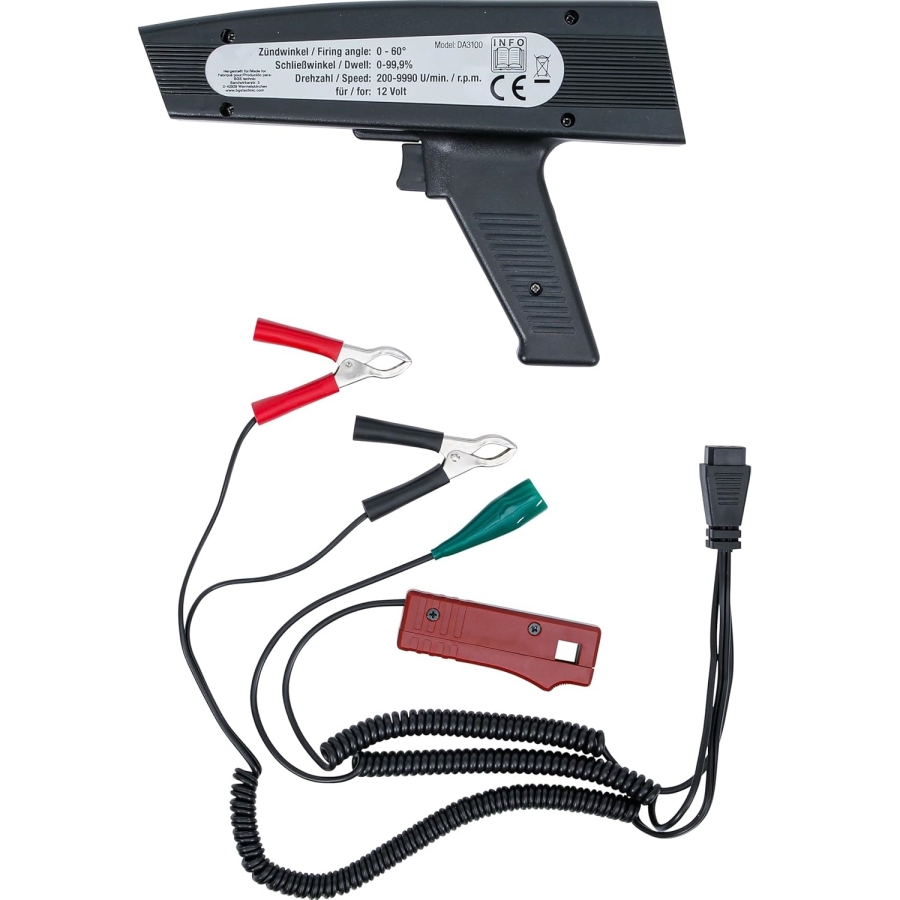
Parts Overview
- Xenon lamp – flashes to illuminate timing marks during inspection.
- Strobe switch – activates the strobe light while pressed.
- Inductive pickup – connects to cylinder 1 ignition wire.
- Red alligator clip – connect to battery positive (+).
- Black alligator clip – connect to battery negative (-).
Preparation Before Use
- Inspect the ignition system and repair any faults before testing.
- Check spark plugs, ignition cables, vacuum hoses, and electrical connections for damage or loose connections.
- Follow the vehicle workshop manual and verify ignition specifications.
- Locate the timing scale and reference mark (usually on the crankshaft pulley, harmonic balancer, or flywheel).
Connecting the Timing Light
Warning: Keep hands, cables, and the timing light away from moving or hot engine parts. Do not smoke.
- Switch off the ignition before connecting the timing light.
- Attach the inductive pickup to cylinder 1 ignition cable.
- Connect:
- Red clip → Battery positive (+)
- Black clip → Battery negative (-)
Checking Ignition Timing
- Some vehicles require disconnecting vacuum hoses or bridging connectors before testing. Refer to the workshop manual.
- Ensure the timing light and engine are prepared correctly.
- Start the engine and allow it to reach operating temperature.
- Adjust idle speed if required.
- Compare the timing mark position with manufacturer specifications.
- If values are outside the specified range, timing adjustment or component replacement may be necessary.
- Release the strobe switch, switch off the engine, and disconnect the timing light.
Adjusting Ignition Timing
Adjust timing only according to manufacturer specifications. Do not attempt adjustment without proper technical information.
Checking Timing Advance Systems
Ignition timing control ensures the fuel-air mixture ignites at the correct moment and may include mechanical, vacuum, or electronic advance systems.
For mechanical timing advance testing, disconnect the vacuum hose and verify that ignition timing advances as engine speed increases.
Electronic timing advance procedures vary by vehicle – refer to the workshop manual.