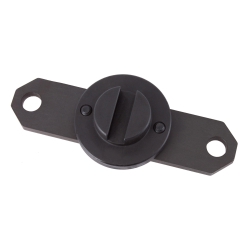
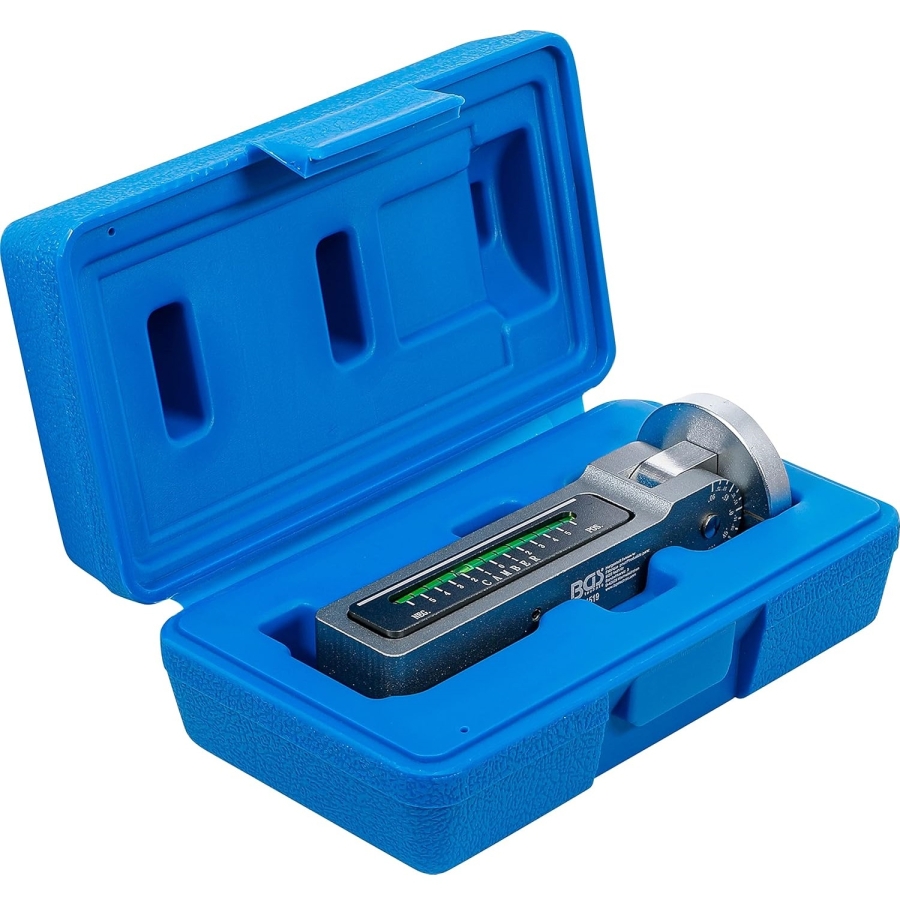
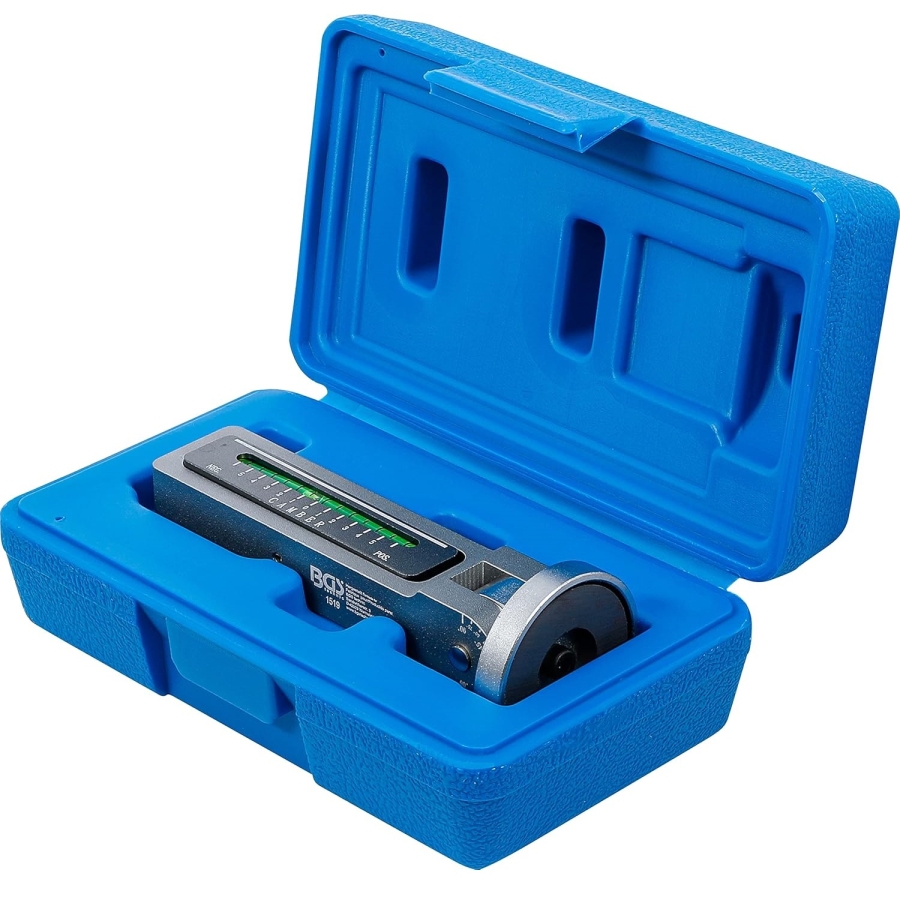
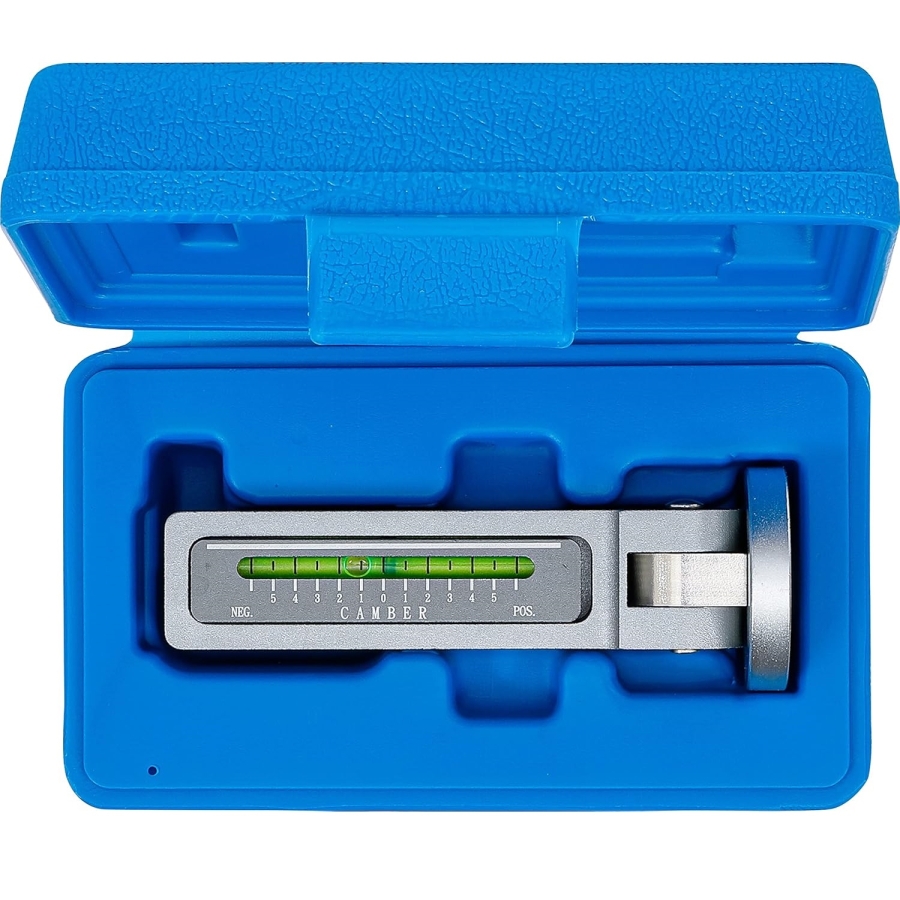
Magnetic Camber Adjustment Tool with Dual Adjustment System
-
Code:1519
-
Weight:0.542 Kgs
Overview:
✔ Designed for camber adjustment and camber angle verification
✔ Required after removal of wheel bearing housing, strut, and suspension components
✔ Allows restoration of the original camber setting after repairs
✔ Helps reduce the need for additional wheel alignment procedures
✔ Adjustable at any angle from 0° to 90°
✔ Measurement range from +5° to -5° in 0.5° increments
✔ Coarse adjustment via 180° folding mechanism
✔ Fine adjustment via adjustment screw
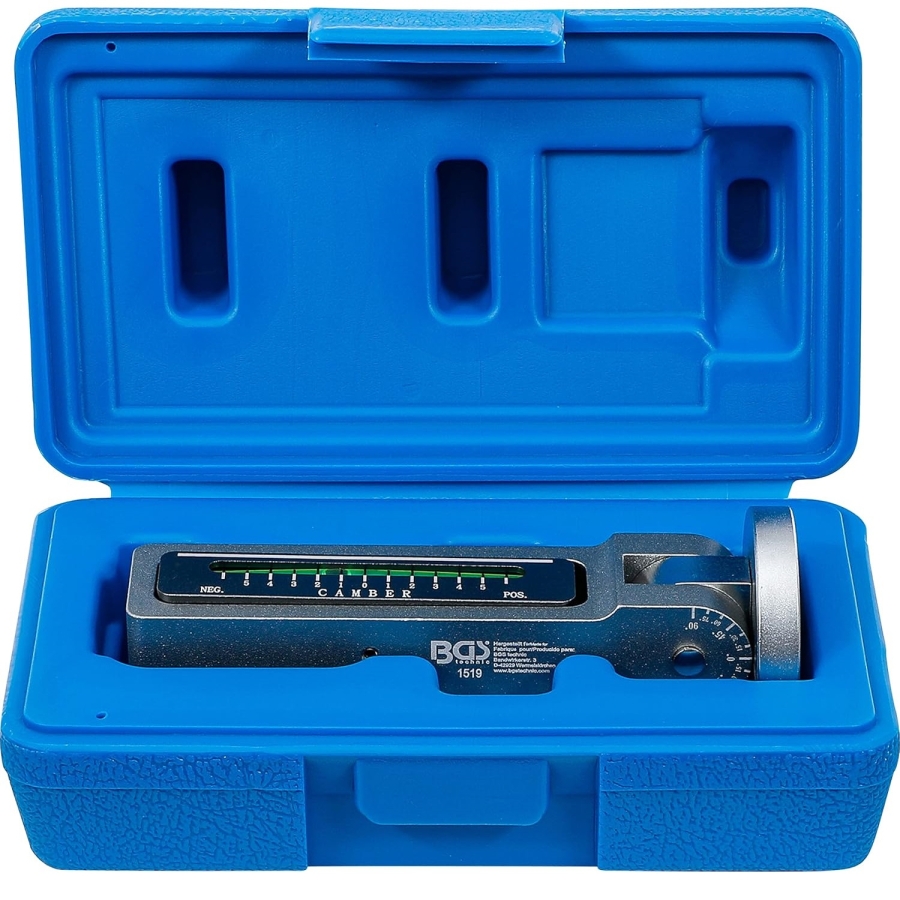
This magnetic camber adjustment tool is designed for measuring, checking, and adjusting wheel camber during suspension and steering repairs.
By calibrating the level gauge on the installed wheel bearing housing before disassembly, the original camber setting can be recorded and restored after the repair. This helps reduce repair time and may eliminate the need for an additional wheel alignment procedure.
The tool also allows the original strut angle to be recorded before removal, enabling reinstallation at the same angle.
Technical Specifications
- Adjustable positioning angle: 0° to 90°
- Camber adjustment range: +5° to -5°
- Adjustment increments: 0.5°
- Magnetic attachment
- Integrated level gauge
Dual Adjustment System
- Coarse adjustment via 180° folding mechanism
- Fine adjustment via precision adjustment screw
Applications
Designed for measuring and adjusting wheel camber after removal of wheel bearing housings, suspension struts, shock absorbers, and related suspension components.
Suitable for use during suspension repairs, wheel alignment preparation, and component replacement procedures.
CALIBRATION
Calibrate the bubble level of the camber measuring tool using a spirit level.
Hold the tool straight against a vertically positioned spirit level and adjust the bubble vial to zero using the adjustment screw.
WHEEL CAMBER
Camber is the angle between the wheel centerline plane and a line perpendicular to the road surface.
APPLICATION
Measuring with Wheels Installed
Position the vehicle on a straight, level surface. A concrete floor is ideal for this purpose.
Check the condition and tire pressure of all tires. Tire pressures must be equal and comply with the vehicle manufacturer's specifications. The vehicle should be in normal operating condition, with the fuel tank approximately half full. If necessary, place a weight equivalent to the driver's weight on the driver's seat.
Remove wheel covers and decorative trim rings.
Attach the tool, with the bubble level facing upward, to the center of the axle or wheel hub. Read and record the measured value. Repeat the procedure on the opposite side of the vehicle.
If the tires show uneven wear patterns, this method may not provide accurate results. In such cases, the following method is recommended.
Measuring with Wheels Removed
This method requires more preparation but provides greater accuracy.
Raise and securely support the vehicle. Support the body and wheel hub at a height corresponding to the normal ride height when the wheels are installed.
Once the vehicle is safely supported on axle stands, the suspension can be carefully raised to its normal operating position using a floor jack.
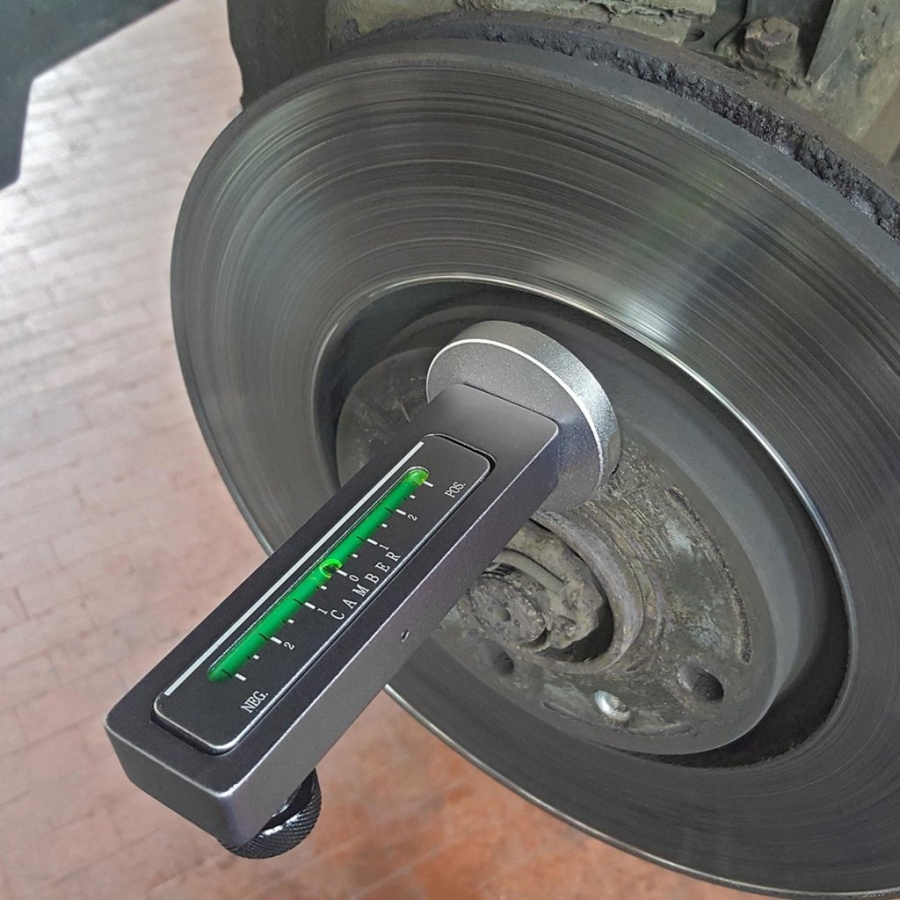
Attach the tool, with the bubble level facing upward, to the brake disc. The brake disc must be free from grooves, scoring, or excessive wear. The use of new brake discs is recommended for maximum accuracy.
Position the steering wheel straight ahead and read the value at the center of the bubble.
Repeat the procedure on the opposite side of the vehicle.