Currency
EUR
  • BGN
  • EUR
  • RON
Language

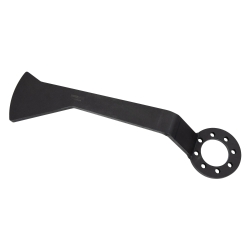
Magnetic Camber Adjustment Tool

Price: €47.95 93.78лв.
  • Code:
    1523
  • Weight:
    0.440 Kgs

Overview:
✔ Designed for measuring, checking, and adjusting wheel camber
✔ Used after removal of wheel bearing housings, struts, and suspension components
✔ Allows restoration of the original camber setting after repairs
✔ Helps reduce the need for additional wheel alignment procedures
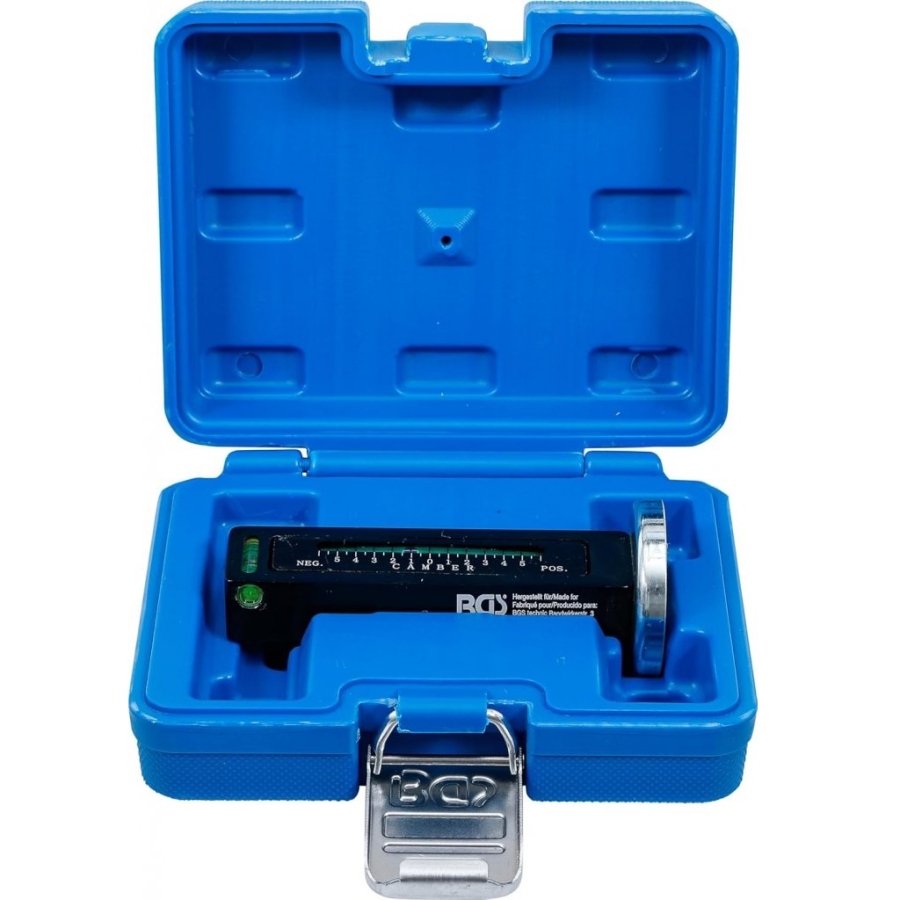
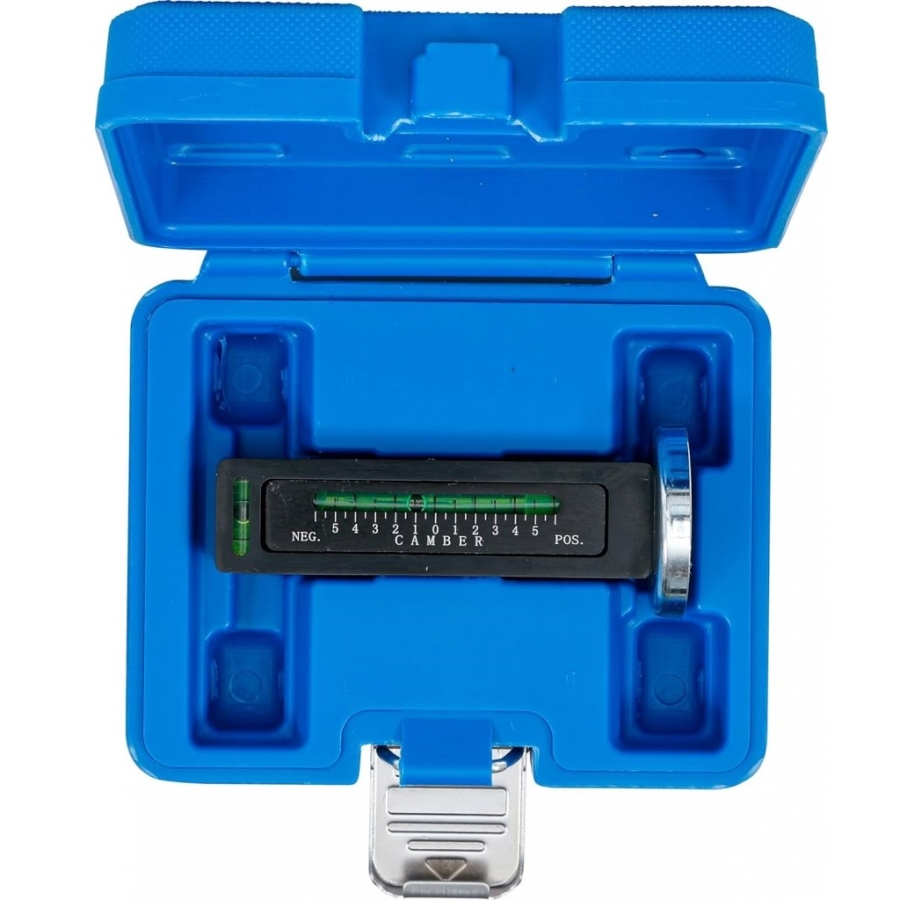
✔ Measurement range from +5° to -5° in 0.5° increments
✔ Records camber values before strut removal for accurate reinstallation
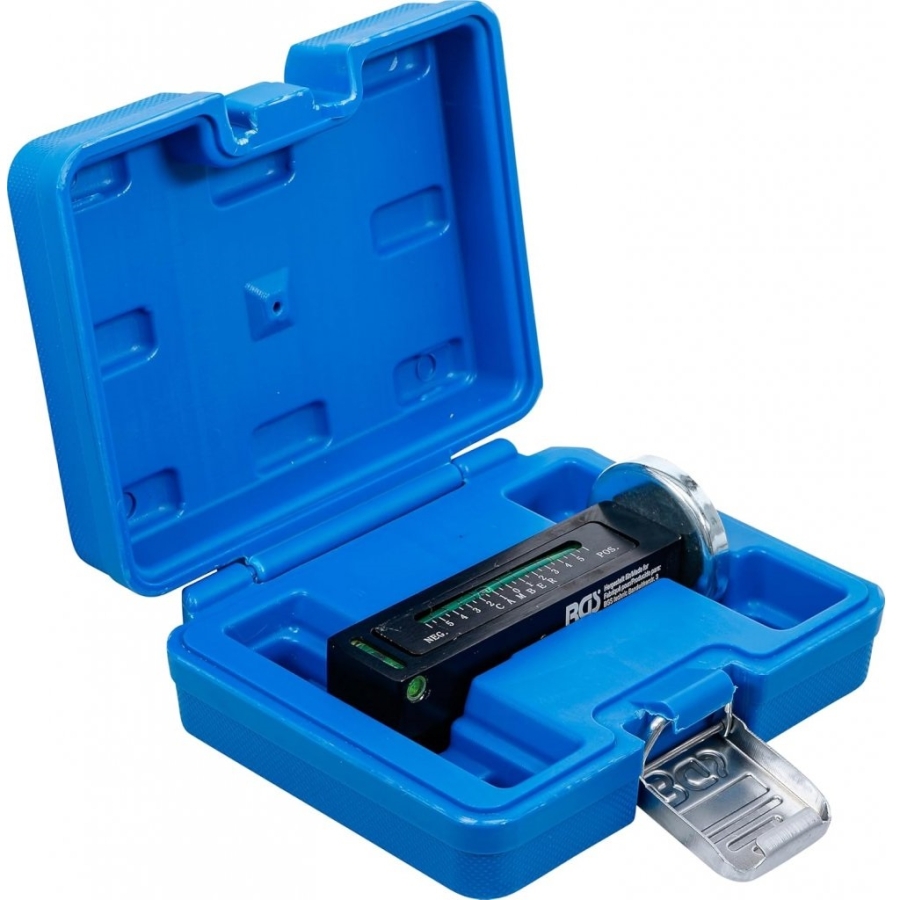
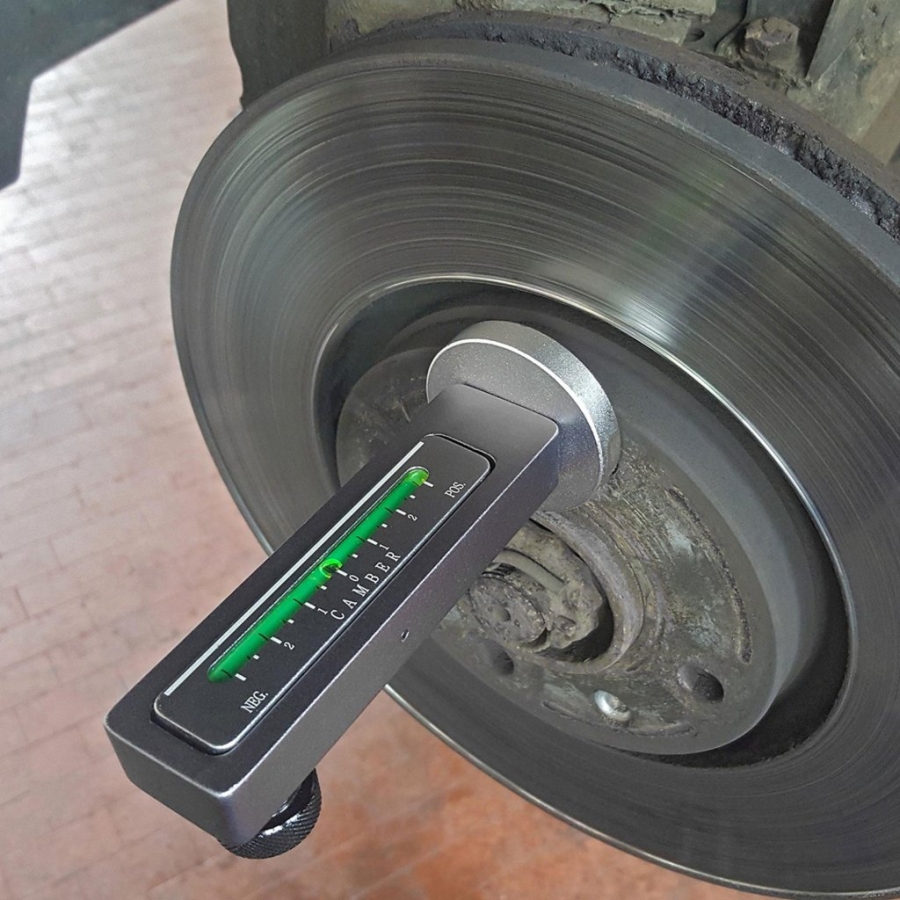
✔ Magnetic attachment to brake disc or wheel hub
✔ Integrated adjustable spirit level

Temporarily Unavailable

Add to wishlist

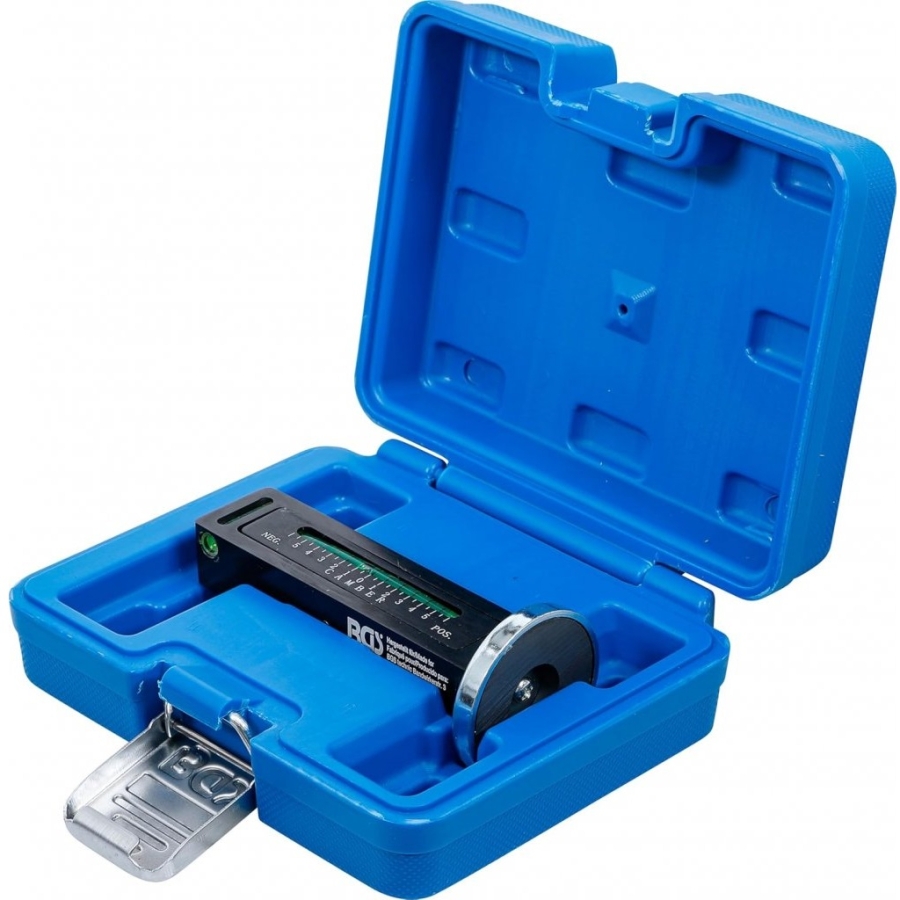
This camber adjustment tool is designed for measuring, checking, and adjusting wheel camber during suspension and steering repairs.

By calibrating the spirit level on the installed wheel bearing housing before disassembly, the original camber setting can be recorded and restored after the repair. This can help avoid additional wheel alignment procedures and reduce repair time and costs.

The tool also allows camber values to be recorded before removing the suspension strut, making it possible to restore the same setting during reinstallation.


Technical Specifications

  • Camber adjustment range: +5° to -5°
  • Adjustment increments: 0.5°
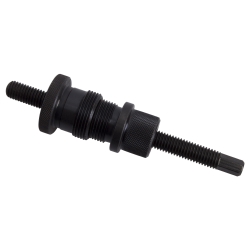
  • Magnetic attachment
  • Integrated adjustable spirit level

Mounting

  • Magnetic mounting to the brake disc
  • Magnetic mounting to the wheel hub

Applications

Designed for measuring and adjusting wheel camber after removal of wheel bearing housings, suspension struts, shock absorbers, and related suspension components.

Suitable for suspension repairs, component replacement, and wheel alignment preparation.

CALIBRATION

Calibrate the bubble level of the adjustment tool using a spirit level. To do this, hold the tool straight against a vertically positioned spirit level and use the adjustment screw to set the bubble vial to zero.

WHEEL CAMBER

Camber is the angle between the plane passing through the center of the wheel and a line perpendicular to the road surface.


Measuring with Wheels Installed

  1. Position the vehicle on a straight and level surface. A concrete floor is ideal for this purpose.
  2. Check the condition and tire pressure of all tires. Tire pressures must be equal and comply with the vehicle manufacturer's specifications.
  3. The vehicle should be in normal operating condition, with the fuel tank approximately half full. If necessary, place a weight equivalent to the driver's weight on the driver's seat.
  4. Remove wheel covers and decorative trim rings.
  5. Attach the tool, with the bubble level facing upward, to the center of the axle or wheel hub. Read and record the measured value.
  6. Repeat the procedure on the opposite side of the vehicle.
  7. If the tires show uneven wear patterns, this method may not provide accurate results. In this case, the following method is recommended.

Measuring with Wheels Removed

  1. This method requires more effort but provides greater accuracy.
  2. Raise and securely support the vehicle. Support the body and wheel hub at a height corresponding to the normal ride height when the wheels are installed.
  3. Once the vehicle is safely supported on axle stands, the suspension can be carefully raised to its normal operating position using a floor jack.
  4. Attach the tool, with the bubble level facing upward, to the brake disc. The brake disc must be free from grooves, scoring, or excessive wear. The use of new brake discs is recommended for maximum accuracy.
  5. Position the steering in the straight-ahead position and read the value at the center of the bubble.
  6. Repeat the procedure on the opposite side of the vehicle.