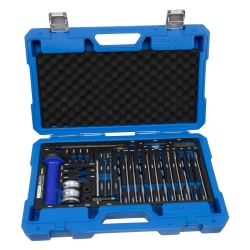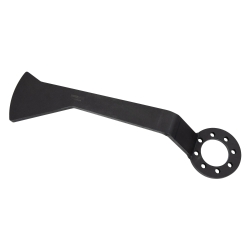
Broken Glow Plug Drilling, Extraction and Thread Repair System, M8–M12
-
Code:115953B
-
Weight:3.730 Kgs
Overview:
✔ Complete master set for broken and seized glow plugs
✔ Suitable for M8, M9, M10 and M12 glow plugs
✔ Drills, extracts and restores damaged glow plug threads
✔ Repairs can be performed without removing the cylinder head
✔ HSS-Co5 drills and taps for professional workshop use
✔ Modular system with individually replaceable and expandable components


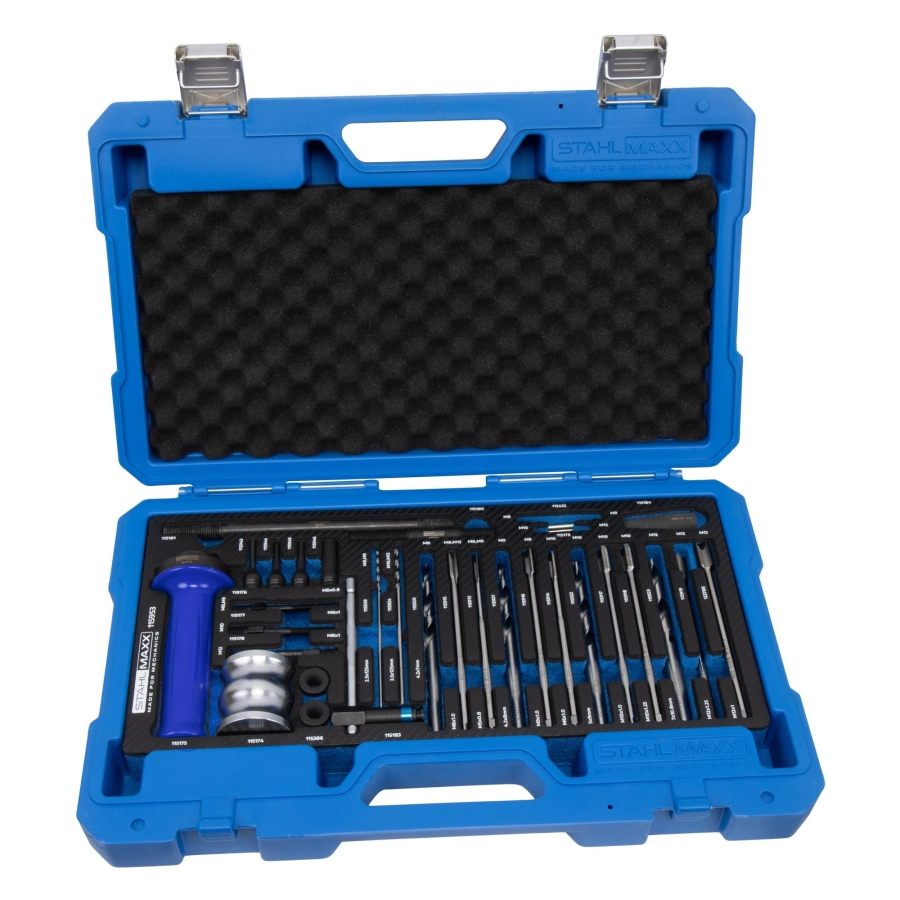
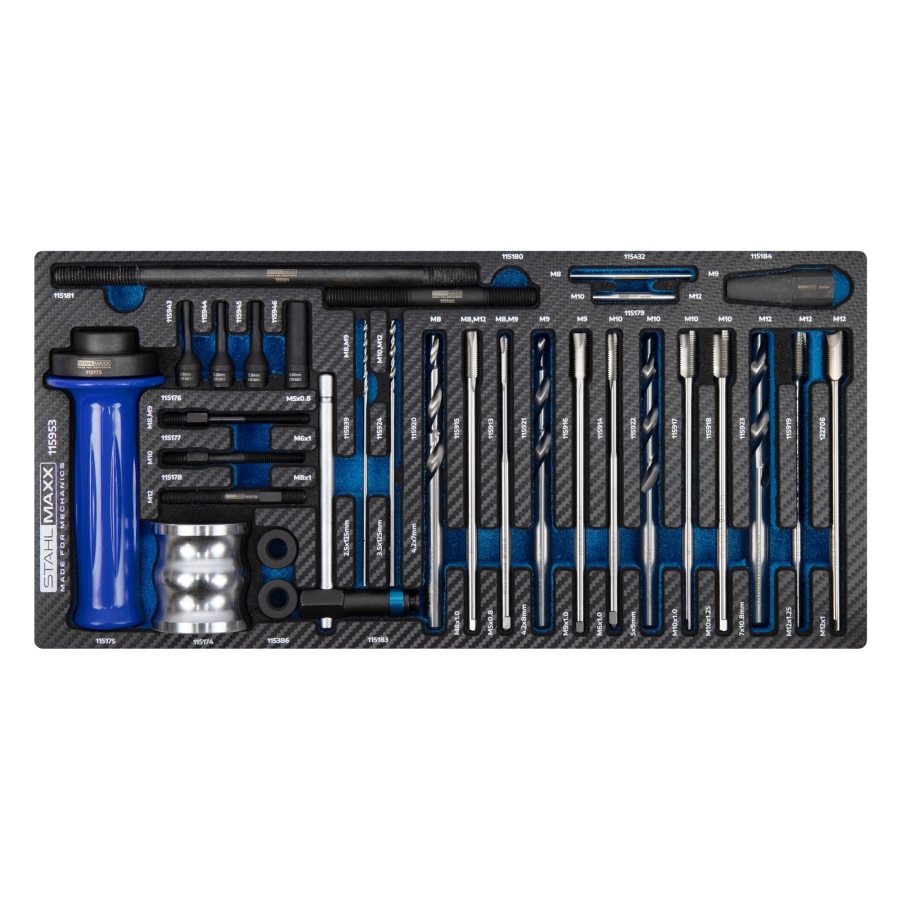
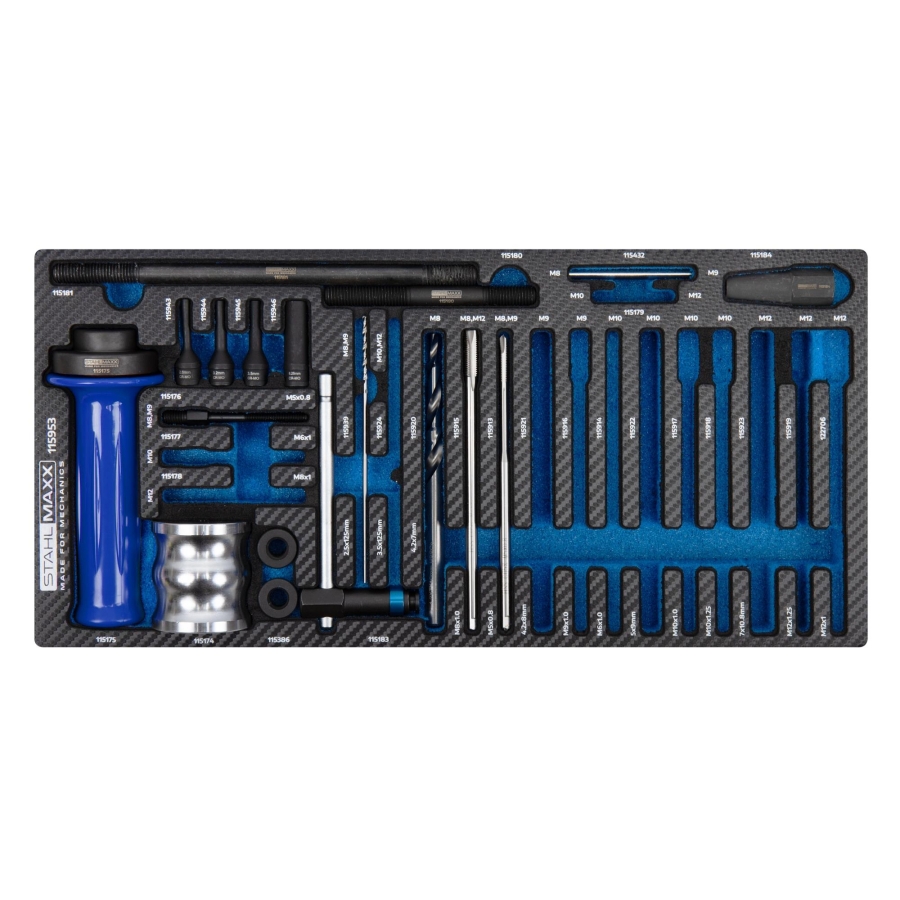
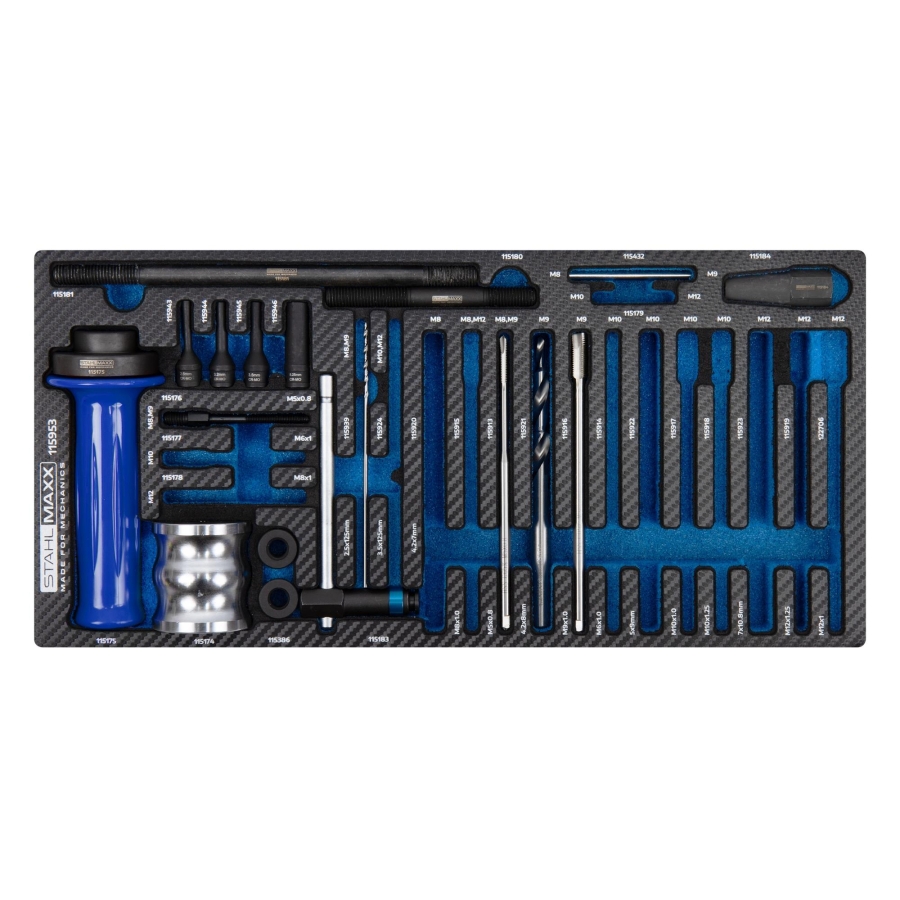
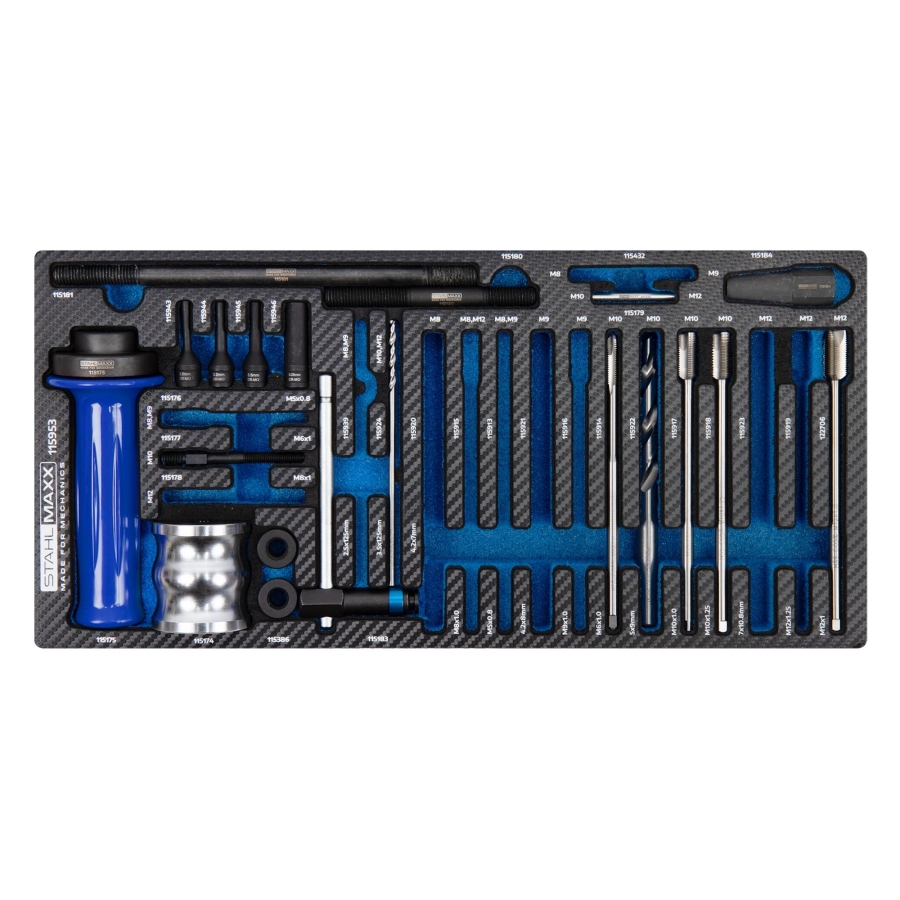
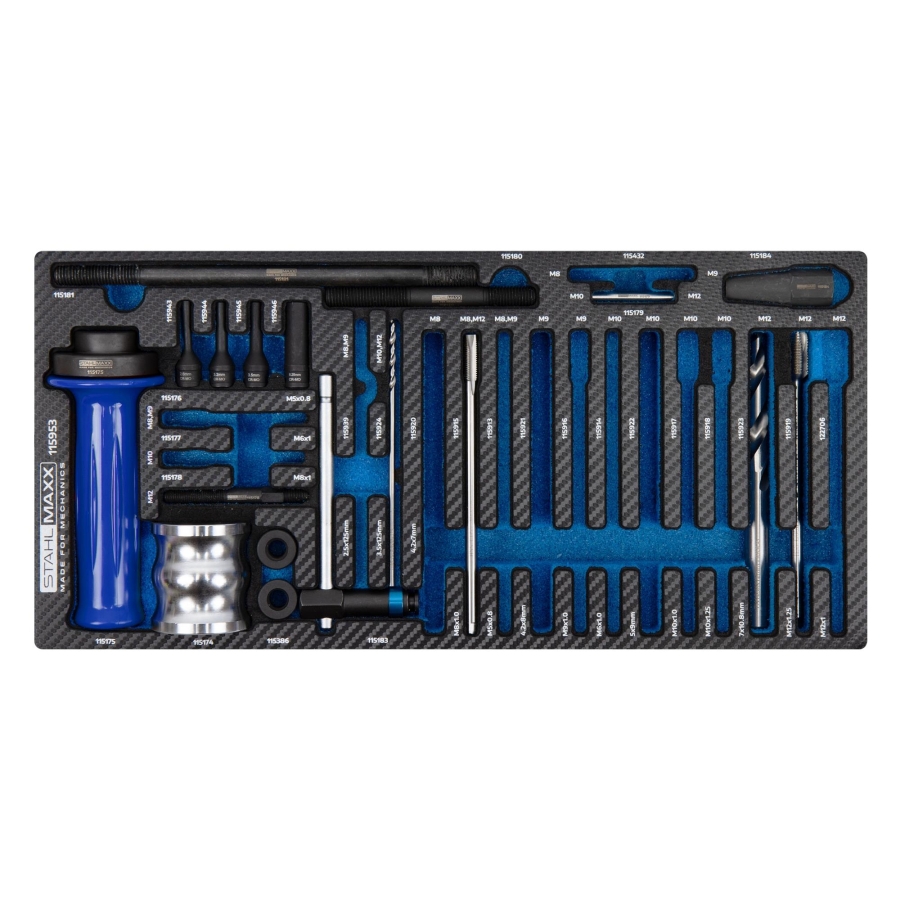
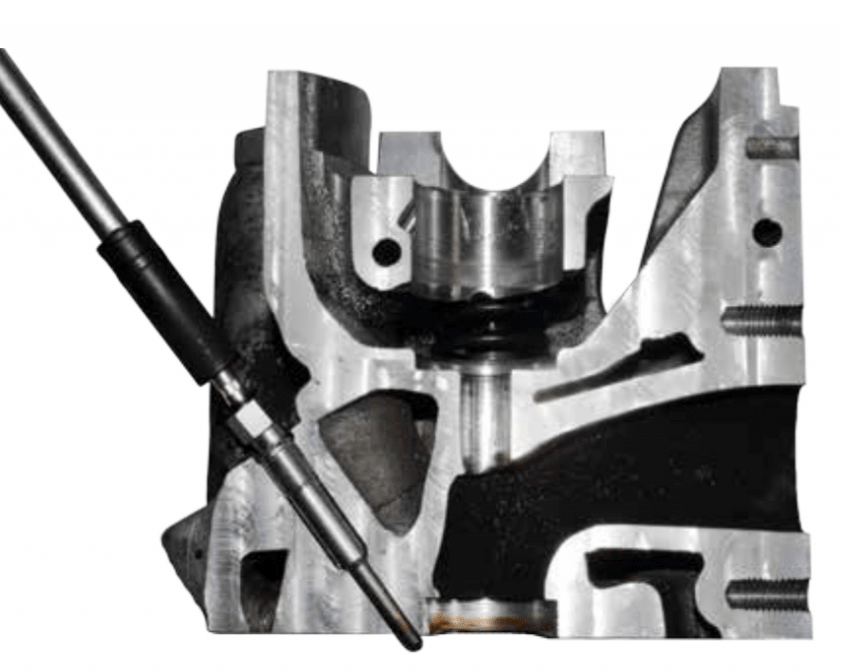
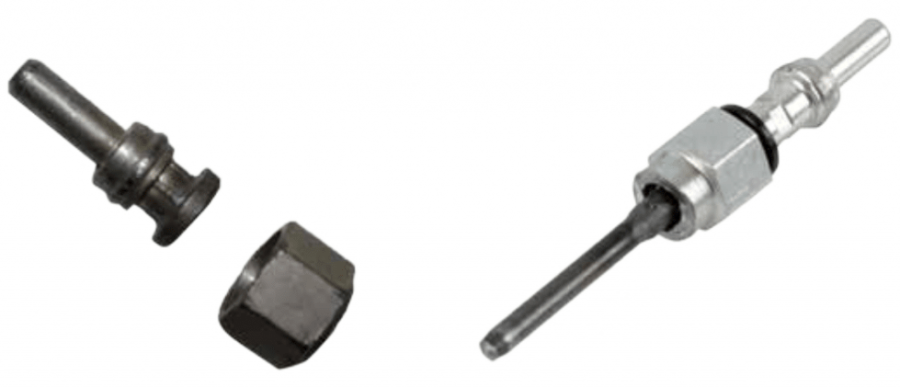
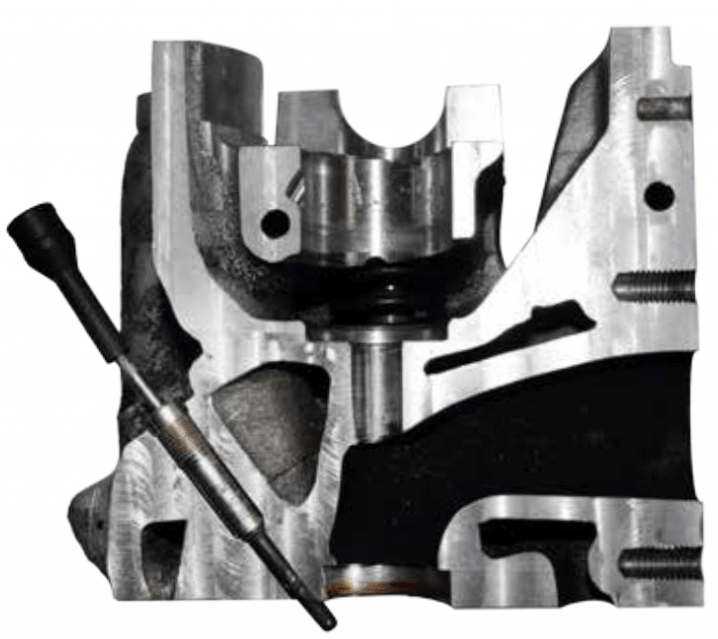
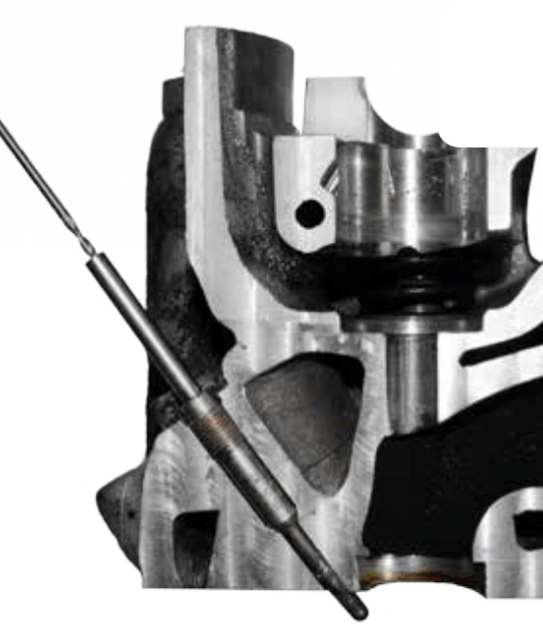
This professional tool system is designed for drilling out and extracting seized or broken glow plugs with M8, M9, M10 and M12 threads.
The comprehensive master set contains the tools required for drilling, extraction and recutting or restoring glow plug threads. Repairs can be performed with the cylinder head installed, avoiding time-consuming and costly cylinder-head removal.
Repairing Damaged Glow Plug Threads
The system also includes the appropriate drills and taps for preparing damaged glow plug threads for the installation of suitable thread repair inserts.
This allows the glow plug mounting thread to be professionally restored after drilling or extraction work.
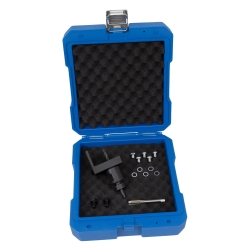
Adjustable Slide Hammer System
The ergonomically shaped 555 g slide-hammer weight and handle can be combined with either the 100 or 200 mm slide rod.
For confined areas, the shorter rod provides a minimum sliding length of approximately 100 mm. When assembled at maximum length, the handle enables simultaneous pulling and impact force for controlled extraction.
HSS-Co5 Drills and Taps
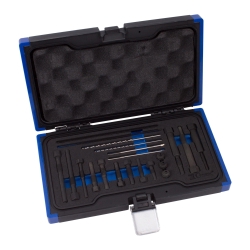
The included drills and taps are manufactured from HSS-Co5 for high resistance to breakage and long service life under professional workshop conditions.
The extra-long 140 mm step drills are suitable for deeply recessed glow plugs and may reduce the need to remove surrounding components such as the intake manifold or EGR system.
Flexible Tool Drive
The innovative tap holder allows the tools to be operated using:
- T-handle
- 1/4" drive
- External hexagon
This provides flexible operation according to the available space and the individual repair procedure.
Clearly Organised Modular System
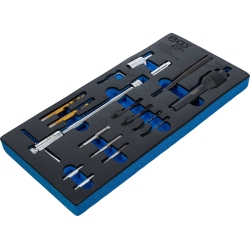
The labelled foam insert shows the tool dimensions and the corresponding glow plug sizes, helping the mechanic select the correct component for each repair step.
All components are available individually as replacement parts. The modular system can therefore be maintained, supplemented or expanded with additional glow plug sizes later.
Scope of Delivery
| Item No. | Quantity | Description |
|---|---|---|
| 115174 | 1 | Slide-hammer weight, 555 g, 50×48 mm |
| 115175 | 1 | Slide-hammer handle, 143×50 mm |
| 115176 | 1 | Pulling bolt, length 70 mm, M5×0.8 and M8×1.25 |
| 115177 | 1 | Pulling bolt, length 70 mm, M6×1.0 and M8×1.25 |
| 115178 | 1 | Pulling bolt, length 70 mm, M8×1.0 and M8×1.25 |
| 115179 | 1 set | Sleeve, length 40 mm, outside diameter 5.4 mm, inside diameter 3.6 mm |
| 115180 | 1 | Slide-hammer rod, length 100 mm, M10×1.5 |
| 115181 | 1 | Slide-hammer rod, length 200 mm, M10×1.5 |
| 115183 | 1 | Holder with 1/4" drive |
| 115184 | 1 | Adapter, M8×1.25 to M10×1.5 |
| 115386 | 1 set | Slide-hammer stop nut, 14 mm hex drive |
| 115432 | 1 set | Sleeve, 4.5×60 mm, with 2.5 mm bore |
| 115913 | 1 | HSS-Co5 tap, M5×0.8, length 140 mm |
| 115914 | 1 | HSS-Co5 tap, M6×1.0, length 140 mm |
| 115915 | 1 | HSS-Co5 tap, M8×1.0, length 140 mm |
| 115916 | 1 | HSS-Co5 tap, M9×1.0, length 140 mm |
| 115917 | 1 | HSS-Co5 tap, M10×1.0, length 140 mm |
| 115918 | 1 | HSS-Co5 tap, M10×1.25, length 140 mm |
| 122706 | 1 | HSS-Co5 tap, M12×1.0, length 140 mm |
| 115919 | 1 | HSS-Co5 tap, M12×1.25, length 140 mm |
| 115920 | 1 | HSS-Co5 step drill, 4.2×7×10 mm, length 140 mm |
| 115921 | 1 | HSS-Co5 step drill, 4.2×8×10 mm, length 140 mm |
| 115922 | 1 | HSS-Co5 step drill, 5×9×10 mm, length 140 mm |
| 115923 | 1 | HSS-Co5 step drill, 7×10.8×12 mm, length 140 mm |
| 115924 | 1 | HSS-Co5 drill, 3.5 mm, length 125 mm |
| 115939 | 1 | HSS-Co5 drill, 2.5 mm, length 125 mm |
| 115943 | 1 | Special twist-off socket for glow plug electrodes, 2.6 mm |
| 115944 | 1 | Special twist-off socket for glow plug electrodes, 3.2 mm |
| 115945 | 1 | Special twist-off socket for glow plug electrodes, 3.5 mm |
| 115946 | 1 | Special twist-off socket for glow plug electrodes, 8.25 mm |
| 115953S | 1 | Labelled foam insert for glow plug drilling tools, 1/3 format |
| 115269 | 1 | Workshop storage case, 1/3 format |

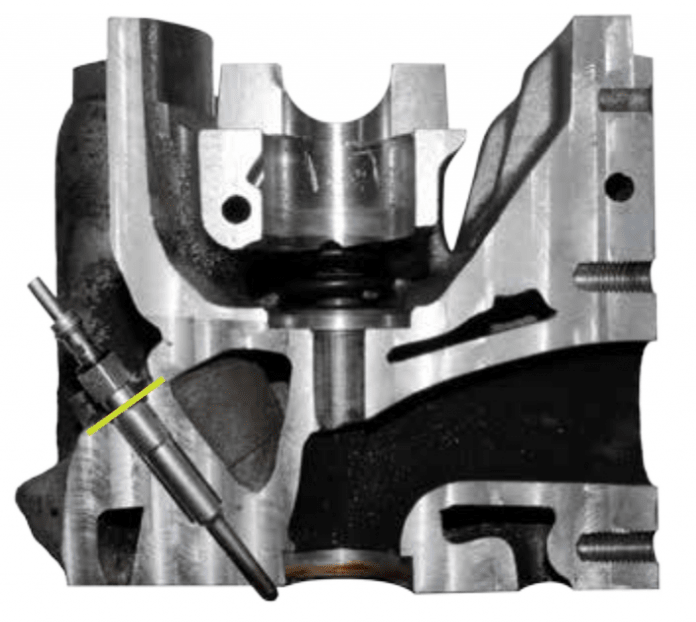
1. Broken Glow Plug
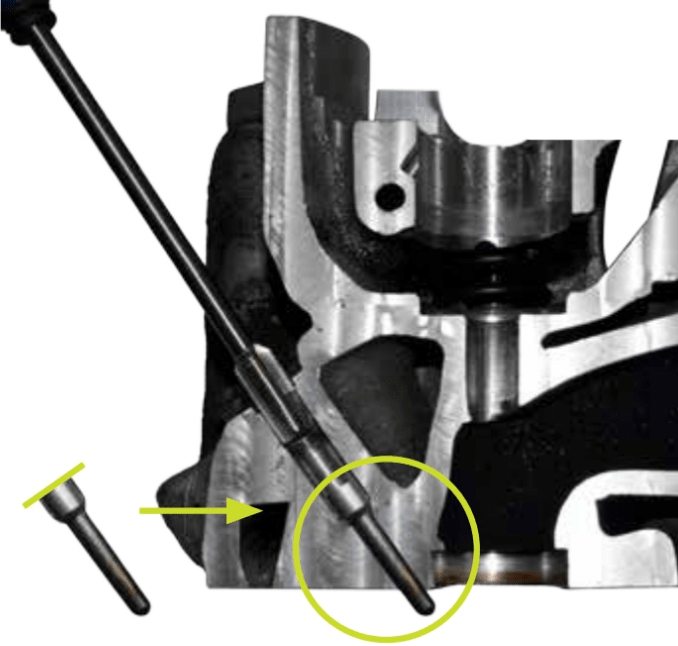
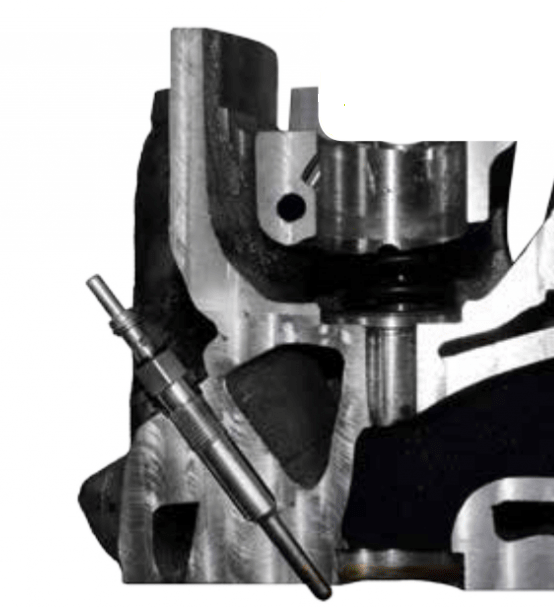
Cross-sectional illustration of a glow plug with the drive hexagon broken off. The break point is marked in the illustration.

2. Remove the Broken Components
Remove the centre electrode using the appropriate special insert.
Please note that different break points may occur depending on how the glow plug has fractured.

Determine the Break Variant
Variant A
Removed parts:
Centre-electrode cap including the hexagonal drive.
Continue with Step 3.
Variant B
Removed parts:
Cap including the centre electrode and hexagonal drive.
Continue with Step 5.
If the centre electrode is still visible, continue with Step 4 first.

3. Remove the Centre Electrode
Remove the remaining centre electrode using the appropriate special insert.

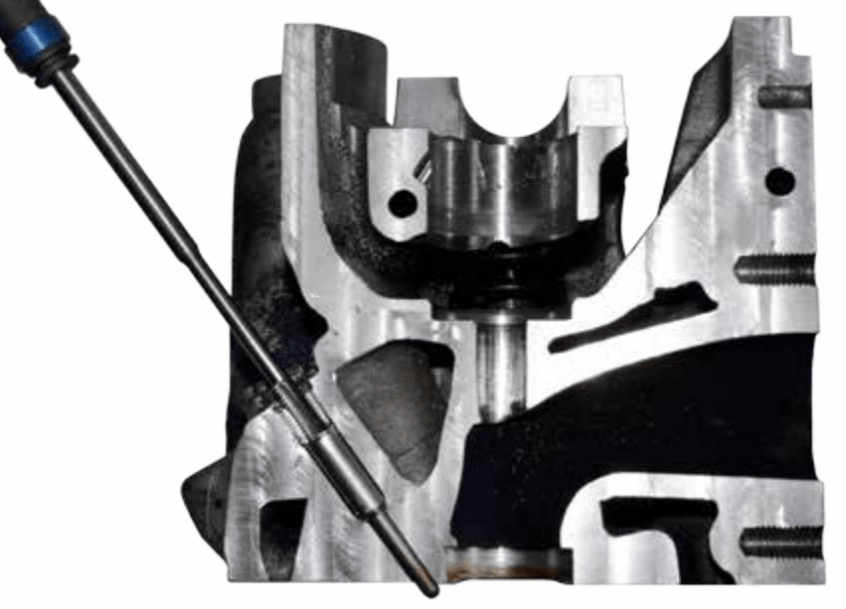
4. Drill Out the Electrode
Make sure that the centre electrode has been removed deeply enough to allow the following drilling operation.
Use the appropriate drill-centering sleeve together with the suitable drill bit.

5. Calculate the Drilling Depth
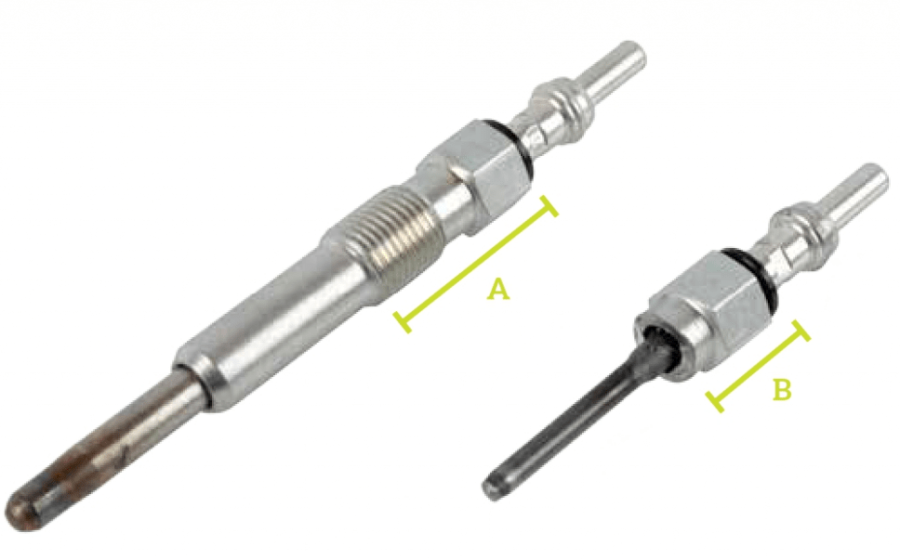
A = Total length of an identical glow plug
B = Length of the broken component

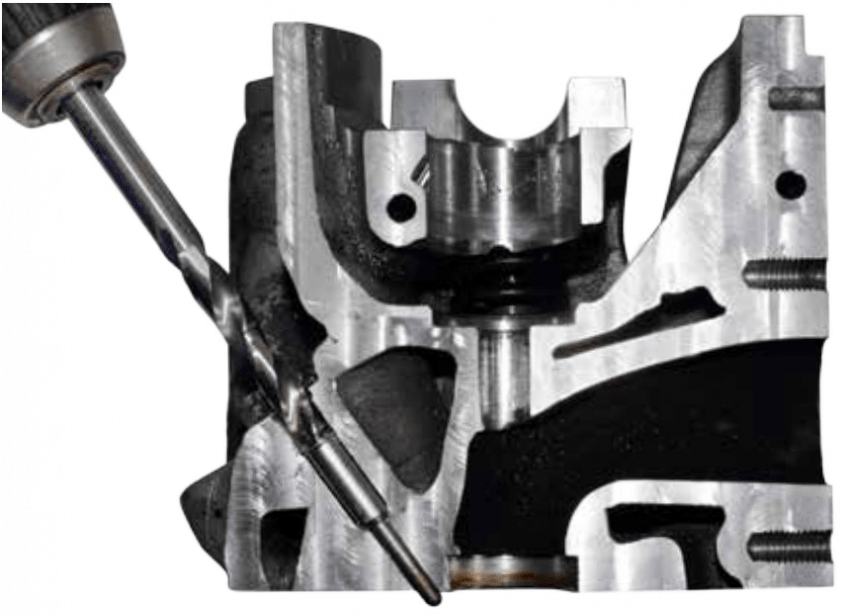
6. Drill Out the Glow Plug
After determining the required drilling depth, mark the drilling limit on the drill bit using a permanent marker or adhesive tape.

7. Cut the Thread for the Puller
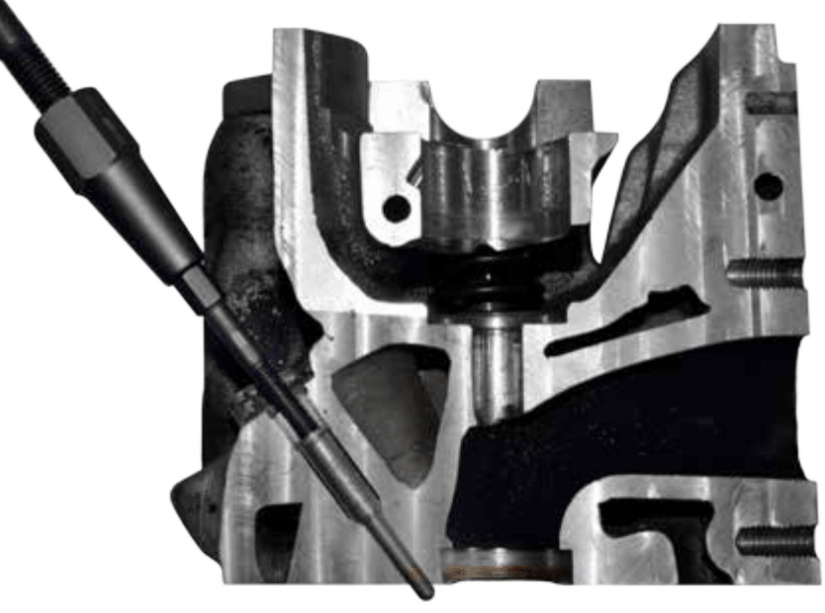
Cut the appropriate thread for the extraction tool and screw the corresponding threaded pull bolt into the glow plug.

8. Extract the Glow Plug
Connect the pull bolt to the slide hammer using the appropriate adapter.
Select the slide-hammer rod length according to the available working space.
Carefully remove the remaining glow plug from the cylinder head using controlled impacts with the slide hammer.

9. Recut the Glow Plug Thread
To protect the combustion chamber from swarf, shorten the removed glow plug tip, clean it thoroughly and use it as a plug.
Apply multipurpose grease to the tap so that metal particles adhere to the tool and are prevented from entering the combustion chamber.

10. Install the New Glow Plug
Before installation, clean the glow plug bore with a suitable reamer.
If the original glow plug thread cannot be restored, repair it using a suitable thread insert.