Silent Bushing Tool Set for Audi A2, VW Polo 9N, Seat Ibiza & Škoda Fabia
Price:
€94.50
184.83лв.94.50EUR
Code:
8253
Weight:
3.636Kgs
Overview:
✔ Professional tool set for front axle console silent bushings
✔ Suitable for Audi, Seat, Škoda and VW vehicles
✔ Enables direct on-vehicle servicing
✔ No console removal required
✔ Designed for safe and damage-free bushing installation
✔ S45C carbon steel spindle system for high durability
✔ Precision-machined aluminum press and spacer components
✔ Ideal for professional workshop repairs
This specialized tool set is designed for the professional removal and installation of front axle console silent bushings (rubber bushings) on selected VAG vehicles.
The tool allows the bushings to be replaced directly on the vehicle without removing the front axle console. This significantly reduces labor time and eliminates the need to remove heavily corroded console mounting bolts.
The system enables controlled pressing and extraction of the bushings while ensuring accurate force distribution during installation and removal procedures.
The spindle, spindle extension, shoulder nut and spindle adapter are manufactured from durable S45C carbon steel, providing excellent strength and durability for intensive workshop use.
The centering ring, press tools and spacer components are manufactured from a specialized aluminum alloy, ensuring precise guidance and alignment during installation and removal operations.
Features
Direct vehicle application
No console removal required
Controlled pressing and extraction of bushings
Precise force transmission during installation
S45C carbon steel spindle components
Aluminum alloy press and spacer components
Professional workshop-grade construction
Equivalent Tool References
Suitable for use as:
VAG 3301
VAG T10030
VAG T30035
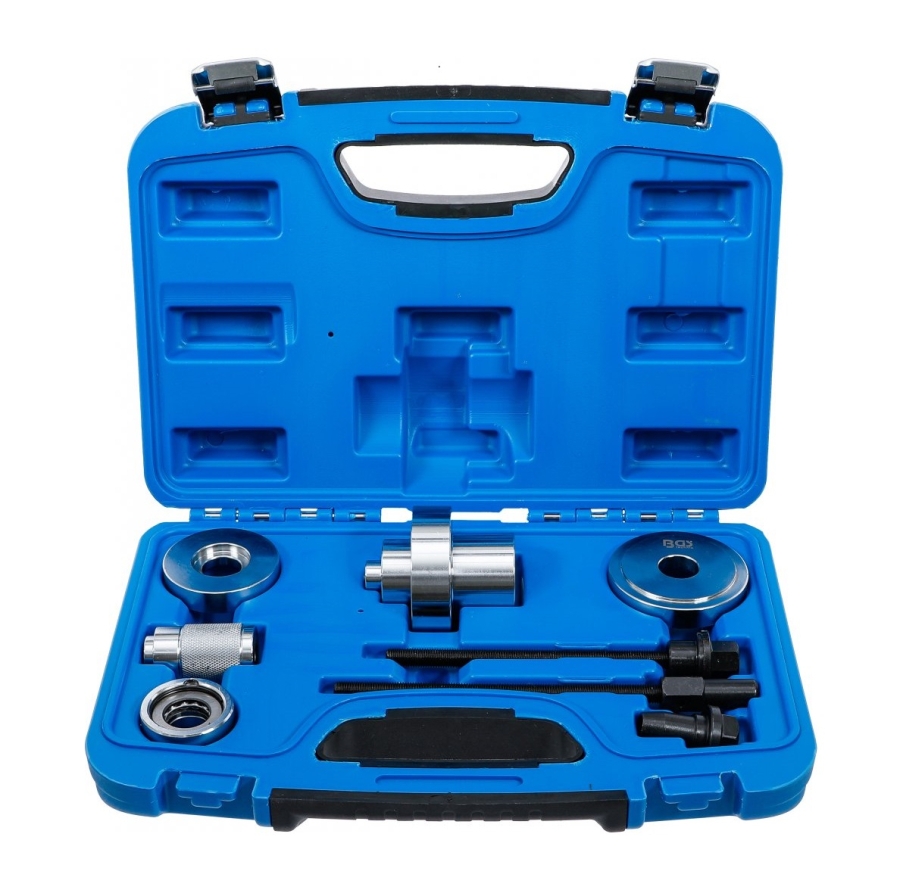
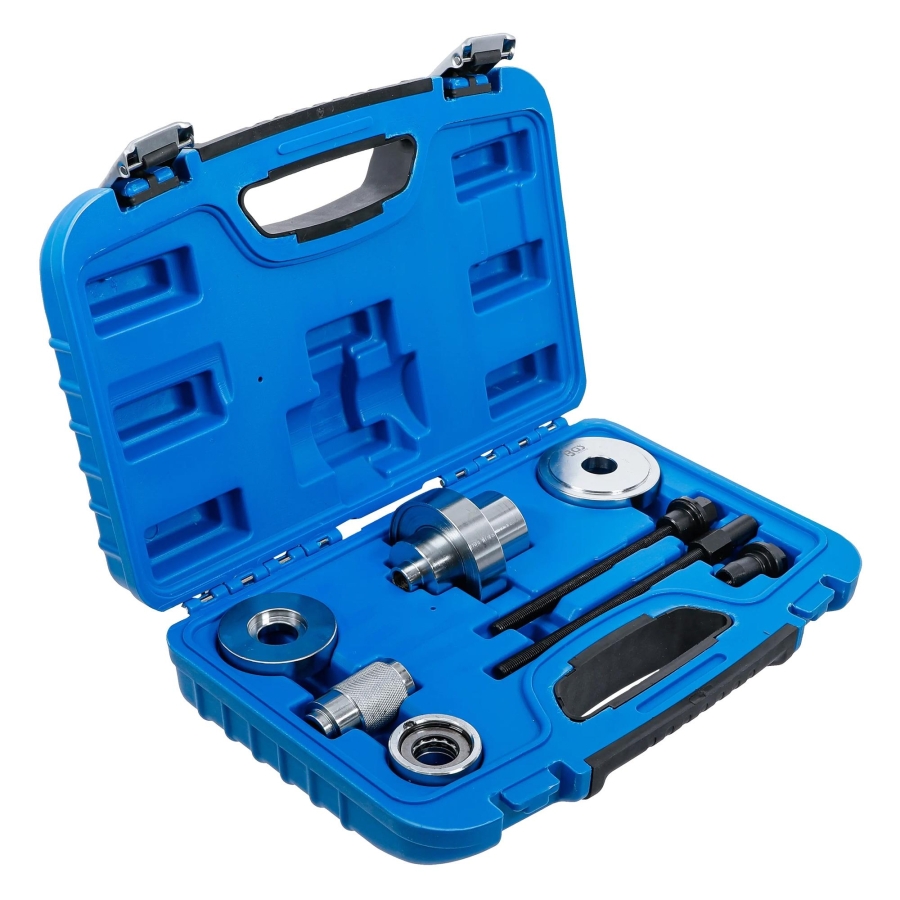
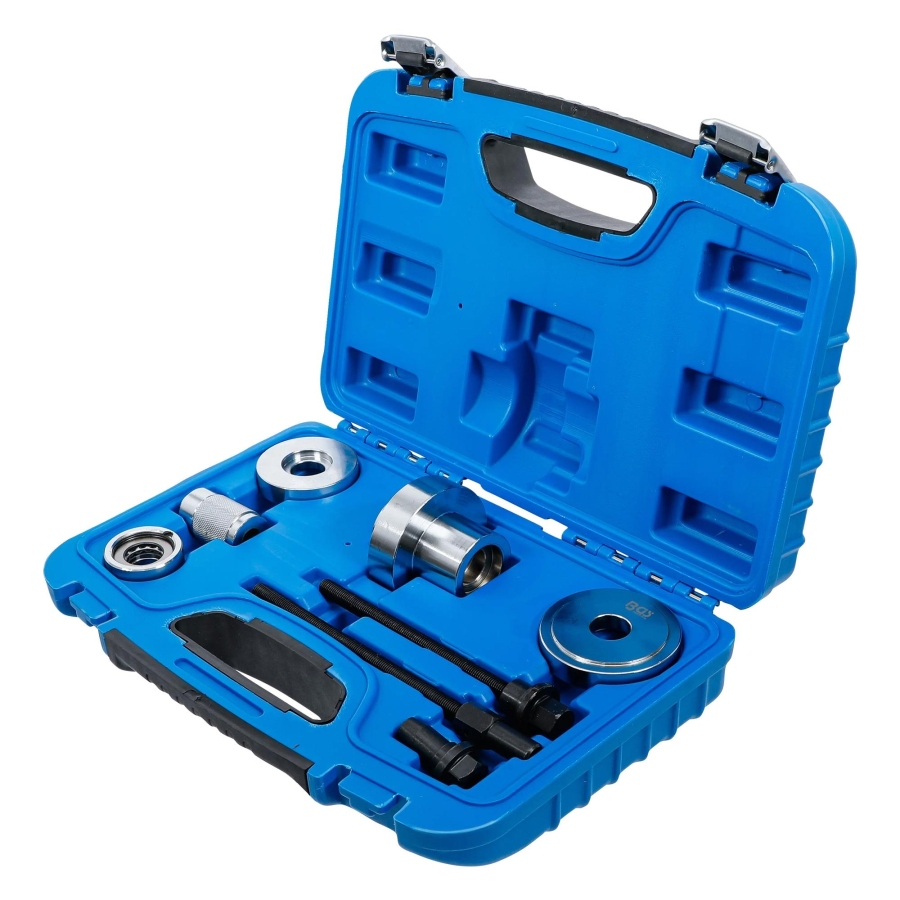
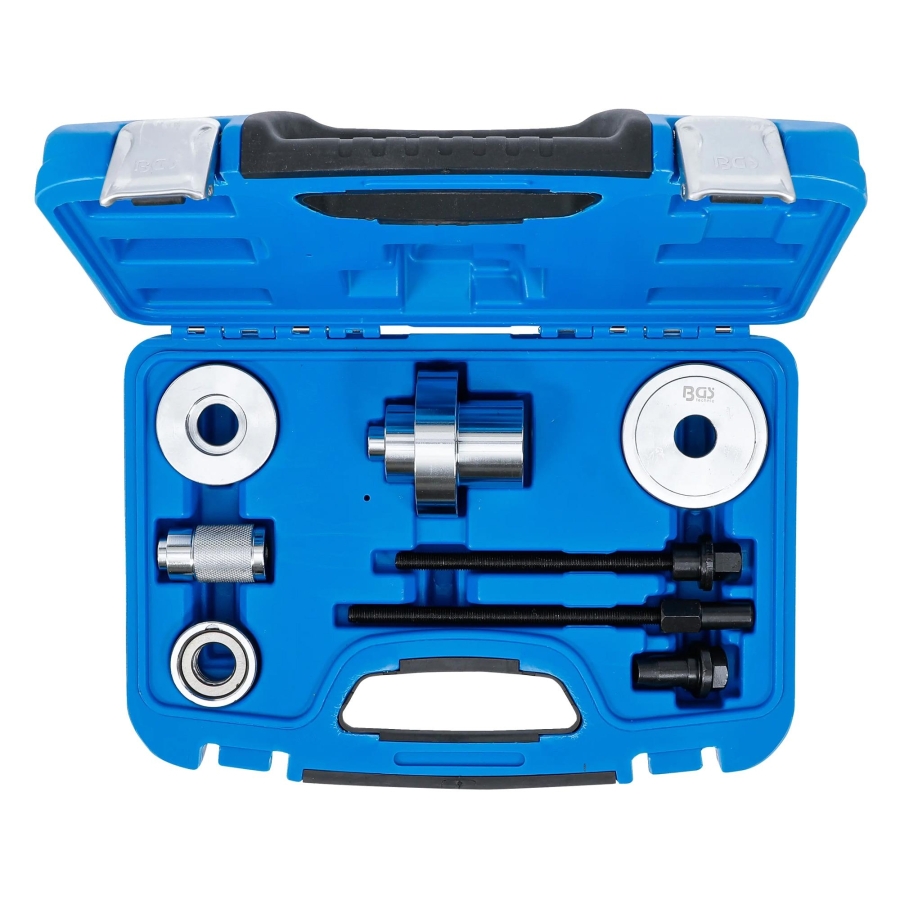
Contents
Item no. 103508 – Working spindle M10 × 1.25 × 180 mm
Item no. 112727 – Extension M10 × 1.25 × 200 mm
Item no. 112728 – Special nut, length 45 mm
Spindle adapter M10 × 1.25 with thrust bearing
Stepped pressure plate Ø 74 mm (installation)
Special pressure piece Ø 74 mm (installation)
Knurled spacer piece (removal)
Flanged pressure piece (removal)
Technical Information
Tool type: Front axle silent bushing removal and installation tool set
Application: Front axle console bushings
Spindle thread: M10 × 1.25
Material (spindle components): S45C carbon steel
Material (press and spacer components): Aluminum alloy
Suitable for professional workshop use
OEM numbers and manufacturer references are provided for identification purposes only. This product is not an original manufacturer tool.
Application
Note
This guide is intended as a brief reference only and does not replace vehicle-specific service documentation.
Always refer to the appropriate manufacturer service manual when carrying out repairs. It contains essential information such as tightening torques, installation specifications, and other critical service procedures.
Removal Procedure
Raise the vehicle and remove the wheel.
Separate the ball joint from the steering knuckle.
Remove the plastic undertray.
Loosen the control arm mounting bolts at the subframe.
Pull the control arm sideways out of the bracket mounting.
Insert the knurled spacer into the gap created between the bracket and the subframe.
Note: The knurled side must face the bracket.
Fit the thrust bearing onto the spindle and insert the spindle from the left side through the spacer.
Position the spindle extension between the bracket arms and screw it onto the end of the spindle.
Push the spindle in until it reaches the stop.
Insert the flanged pressure piece from the right side into the housing of the plastic bushing.
Note: The flange must face the plastic bushing.
Insert the special cone nut from the right side through the pressure piece and screw it onto the end of the spindle extension.
Hold the spindle drive stationary on the left side and continue tightening the special cone nut. This will press the bushing out of the bracket housing.
Remove all tool components.
Installation Procedure
Important: Ensure the correct installation position of the bushing.
Note: The rubber locating tab on the bushing must be positioned at the 12 o'clock position.
Position the Ø74 mm reaction plate with the flange facing the bushing housing.
Arrange the installation tools and the new bushing in front of the bracket housing from the left side in the following order.
Note: The locating tab must fit into the recess of the Ø74 mm special pressure piece.
Position the Ø74 mm reaction plate with the cone nut installed on the right side and connect the spindle assembly.
Hold the spindle drive stationary while tightening the cone nut. This will press the plastic bushing into the bracket housing.