BMW E36 Ball Joint Tool Kit
-
Code:8482
-
Weight:5.100 Kgs
Overview:
✔ Professional tool kit for removal and installation of pressed-in ball joints and guide joints
✔ Designed for BMW 3 Series E36 models
✔ Suitable for ball joints mounted in the steering knuckle (wheel bearing housing)
✔ Compatible with OEM references as 31121096685, 31121140398 and 31126758510
✔ Enables safe and precise servicing without damaging surrounding components
✔ Suitable for professional workshop use
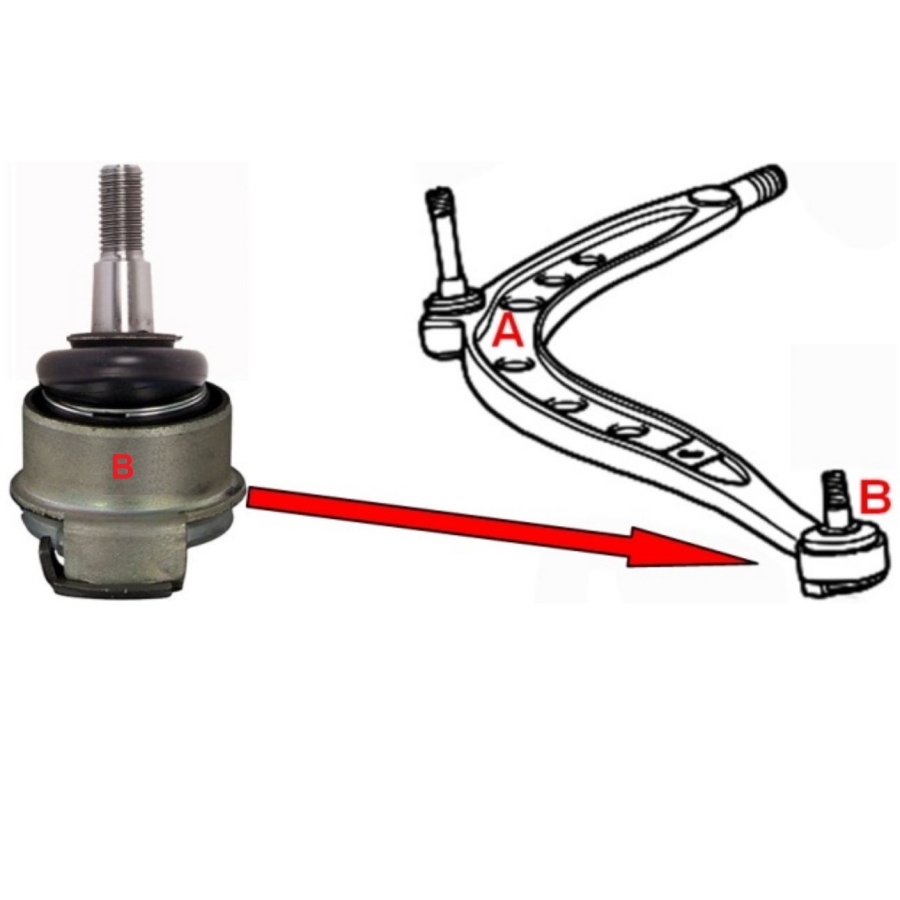
This specialized tool kit is designed for the removal and installation of pressed-in ball joints (control arm ball joints / guide joints) mounted in the steering knuckle or wheel bearing housing. The tool allows efficient servicing while minimizing the risk of damage to suspension and steering components.
Suitable for BMW 3 Series E36 models.
OEM Compatibility
Compatible with ball joints referenced as:
- BMW OE 31121096685
- BMW OE 31121140398
- BMW OE 31126758510
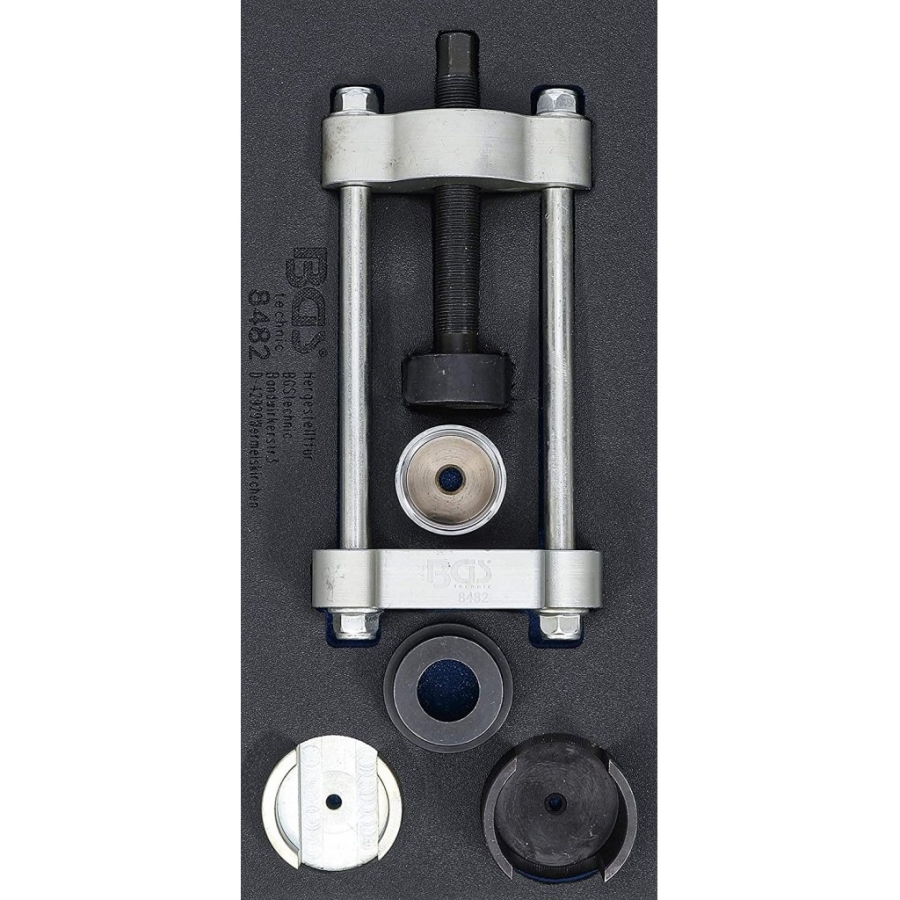
Complete Tool Kit Contents
The kit includes the necessary sleeves and adapters for both removal and installation procedures:
Removal Support Sleeve
- Outer diameter: 49.0 mm
- Inner diameter: 40.3 mm
- Designed to support the opening in the base plate during ball joint removal
Removal Pressure Sleeve
- Outer diameter: 68.2 mm
- Height: 50.7 mm
- Two opposing cut-outs:
- Width: 39.8 mm
- Height: 39.7 mm
Installation Pressure Sleeve
- Outer diameter: 62.3 mm
- Height: 35.3 mm
- Two opposing cut-outs:
- Width: 34.8 mm
- Height: 18.3 mm
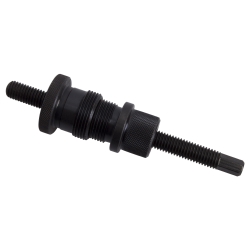
Threaded Sleeve
- Height: 47.5 mm
- Inner diameter: 39.7 mm
- Outer diameter: 49.1 mm
- Internal height: 35.1 mm
- Central thread: M12 x 1.75 mm
Professional Workshop Application
The tool kit provides a reliable solution for servicing front suspension ball joints on BMW E36 vehicles. Precision-machined components ensure proper alignment and controlled pressing force during removal and installation operations.
Original equipment numbers are provided for comparison purposes only. This is not an original OEM tool.
Removal
- Before removal, mark the position of the installed ball joint.
- Place the pressure sleeve with the open side facing down over the ball joint.
- Unscrew the spindle from the press frame sufficiently.
- Install the support sleeve onto the spindle with the recess facing the ball joint.
- Position the press frame over the ball joint. Ensure that the pressure sleeve is correctly seated in the bore of the press frame and that the recess of the support sleeve is properly aligned with the ball joint.
- Preload the spindle by hand and check that all tool components are correctly positioned.
- Turn the spindle clockwise using a socket wrench or ring spanner until the ball joint is completely pressed out of the control arm.
Installation
- Before installing the new ball joint, clean the mounting surface.
- Screw the guide sleeve onto the ball joint stud over the rubber boot.
- Place the ball joint into the pressure sleeve, ensuring that it is correctly seated in the recess.
- Unscrew the spindle from the press frame sufficiently.
- Insert the ball joint with the pre-installed pressure sleeve and guide sleeve into the control arm bore.
- Position the press frame on the control arm. Ensure that the guide sleeve is seated in the bore of the press frame and that the ball joint is correctly aligned.
- Turn the spindle clockwise and lightly preload the tool.
- Check the correct positioning of the tool components and the ball joint, then use the spindle to press the ball joint into the control arm.