Cooling System Vacuum Fill & Bleeding Tool for Tesla Models S, X, 3 & Y
-
Code:9503
-
Weight:2.566 Kgs
Overview:
✔ Vacuum filling and bleeding tool for Tesla cooling systems
✔ Uses compressed air to generate vacuum for fast filling
✔ Eliminates need for manual bleeding
✔ Suitable for Tesla Model S, X, 3 and Y (all model years)
✔ Includes adapters for all Tesla cooling system connections
✔ Ideal for professional workshop use
Professional cooling system service tool designed specifically for Tesla vehicles.
The tool uses compressed air to generate a vacuum inside the cooling system, allowing fast and efficient refilling without the need for manual bleeding procedures.
Functionality
By creating a vacuum, the tool ensures complete filling of the cooling system without air pockets. This significantly reduces service time and improves system reliability.
- Prevents air locks in the cooling circuit
- Enables quick and controlled coolant filling
- Suitable for maintenance and repair operations
Compatibility
Suitable for Tesla models:
- Model S
- Model X
- Model 3
- Model Y
(All model years)
Technical Details
- Operating principle: Venturi vacuum via compressed air
- Pressure gauge range: -1 to 0 bar
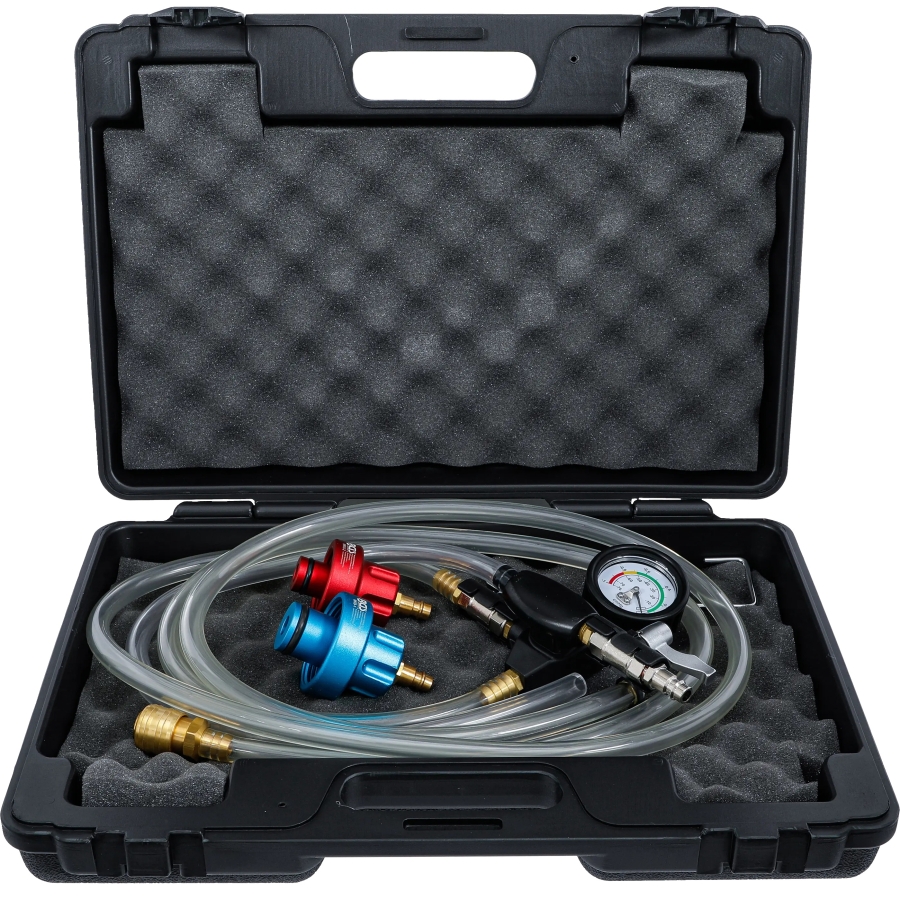
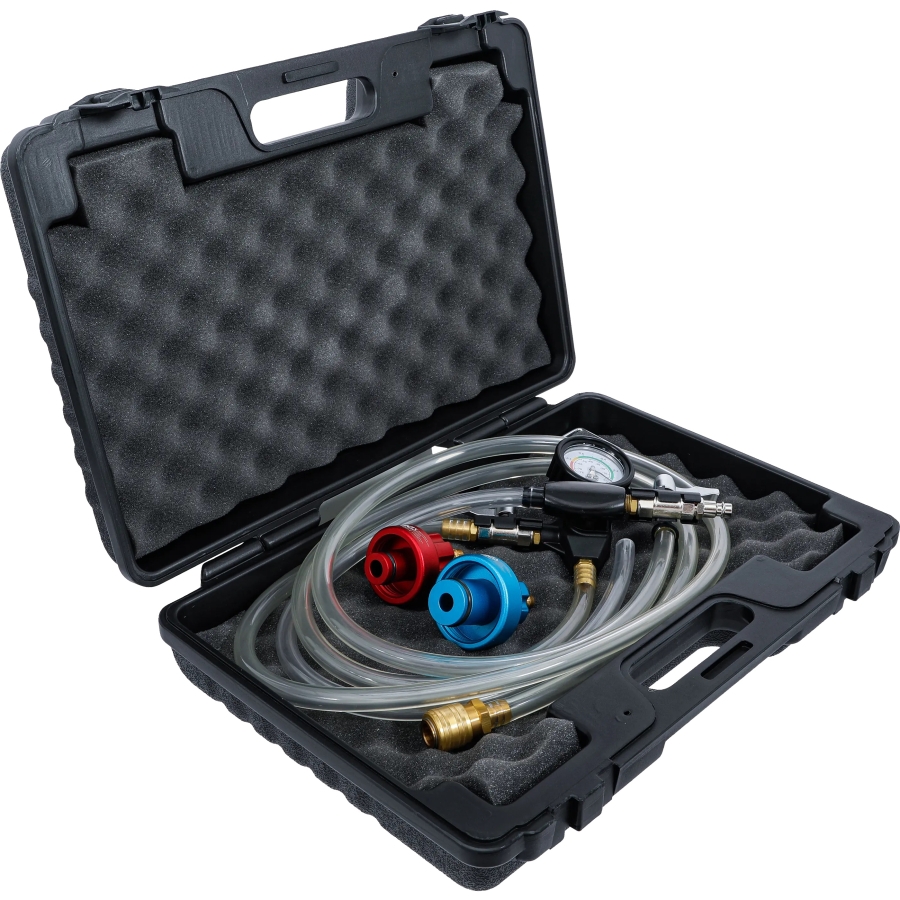
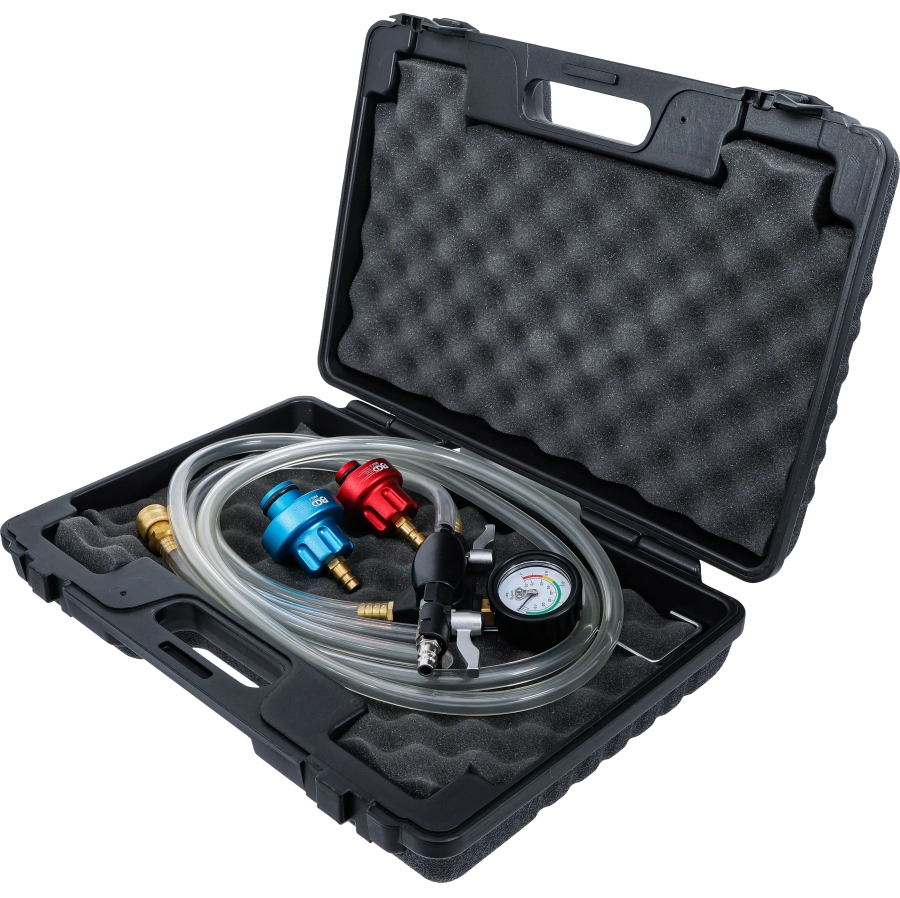
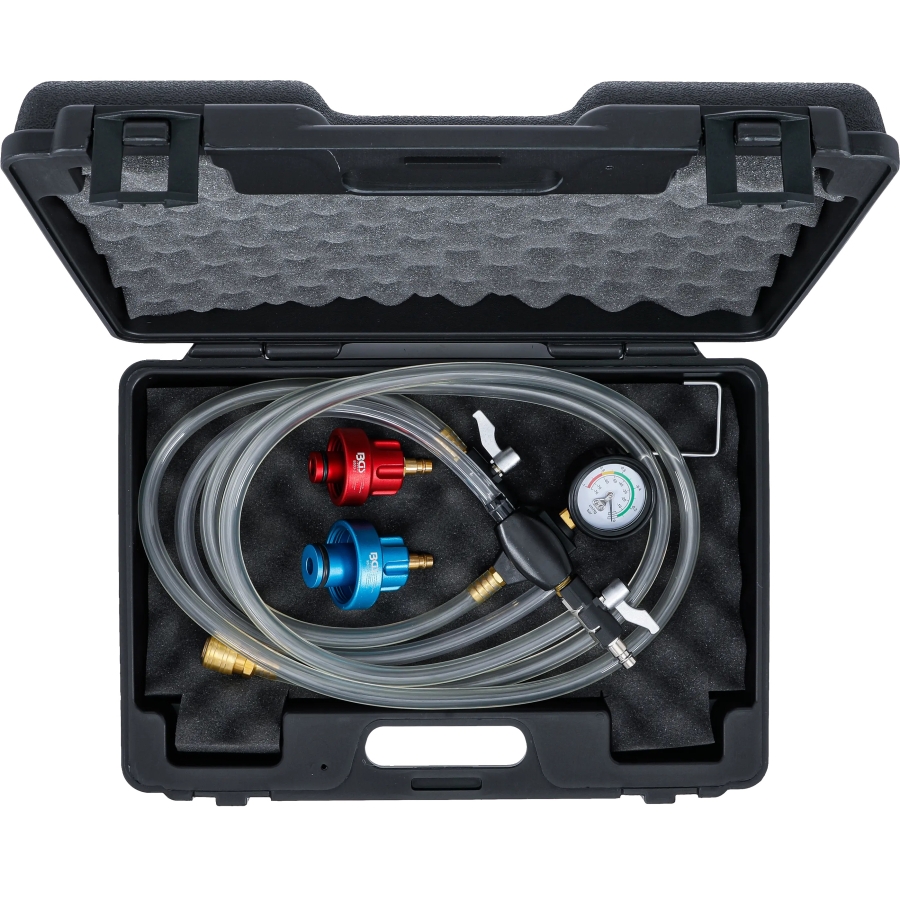
Scope of Delivery
- 1x Filling unit with pressure gauge (item.no. main unit), hook, coolant valve and compressed air valve
- 1x Coolant suction hose, 1500 mm
- 1x Drain hose, 600 mm
- 1x Coolant refill hose, 700 mm
- 1x Vehicle adapter for Model 3 & Y
- 1x Vehicle adapter for Model S & X
OEM numbers are for comparison purposes only. This product is not an original tool.
USAGE INSTRUCTIONS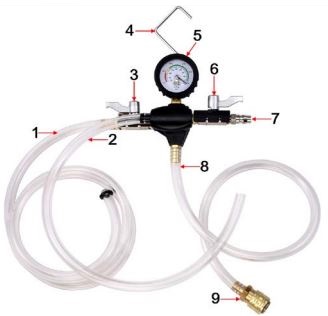
Installation
- Raise the vehicle and drain the old coolant completely.
- Lower the vehicle once the coolant has been fully drained.
- Hang the device under the hood.
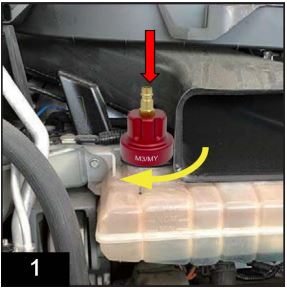
- Screw the appropriate vehicle adapter onto the expansion tank filling opening (Fig. 1).
- Connect the coolant refill hose (8) to the vehicle adapter via the hose connector (9).
- Place the coolant suction hose (1) into the pre-mixed coolant.
- Ensure the hose remains fully submerged below the liquid surface at all times.
- Make sure valves (3 + 6) are closed, then connect the device to compressed air via connection (7).
Operation
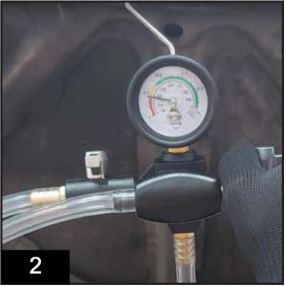
- Open the compressed air valve (6) to generate a vacuum (Fig. 2).
- Close the compressed air valve (6) once maximum vacuum is reached.
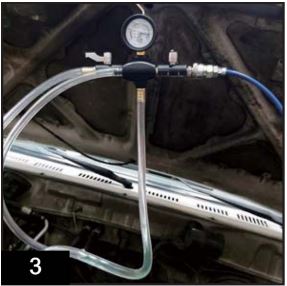
- Open the coolant valve (3); coolant will automatically be drawn into the cooling system (Fig. 3).
- Close valves (3 + 6) once sufficient coolant has entered the system.
- Repeat steps 7–10 if necessary.
- Remove the device and the vehicle adapter.
- Check the coolant level in the expansion tank and top up if required.
- Close the expansion tank with the original cap.
- No bleeding of the cooling system is required.