





Date: 25 Oct 2026
 Workshop knowledge · PSA EB2/EB3 Gen 3
PSA EB2/EB3 Gen 3: from wet timing belt to timing chain
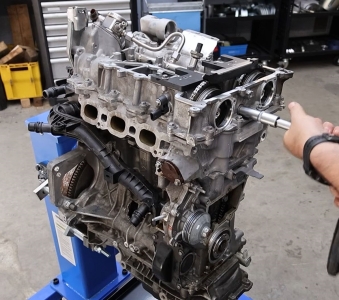
The third generation of the familiar 1.2L engine family uses a timing chain instead of an oil-bathed belt. The basic engine may look familiar, but the timing procedure now depends on separate control of crankshaft TDC, camshaft position, camshaft-adjuster support and tensioner release.
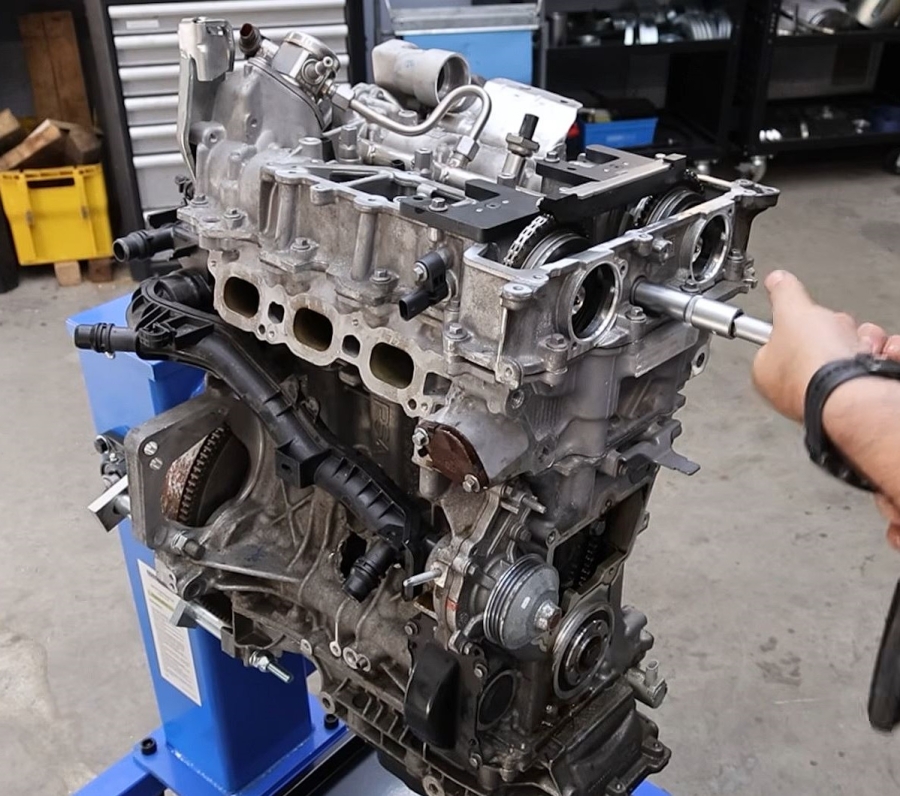
The important workshop question is no longer simply “EB2 or EB3?” It is also which generation and which timing drive? Chain-driven Gen 3 engines appeared from around 2023 across several Stellantis brands. Their block, cylinder head and many surrounding components remain close to the earlier design, which makes correct identification essential before dismantling begins.
Identify before dismantling
A familiar engine family with a fundamentally different timing drive
Earlier versions of the PSA 1.2L EB engine family are widely known for their oil-bathed timing belt. On third-generation EB2 and EB3 engines, that drive is replaced by a timing chain. The first chain-driven versions entered the market from approximately 2023.
The change is easy to underestimate because the engine block, cylinder head and many other components remain largely similar to the previous generation. A tool set or working method intended for the wet-belt engine must therefore not be selected simply because the vehicle still carries a familiar 1.2L engine designation.
Where the chain-driven version is found
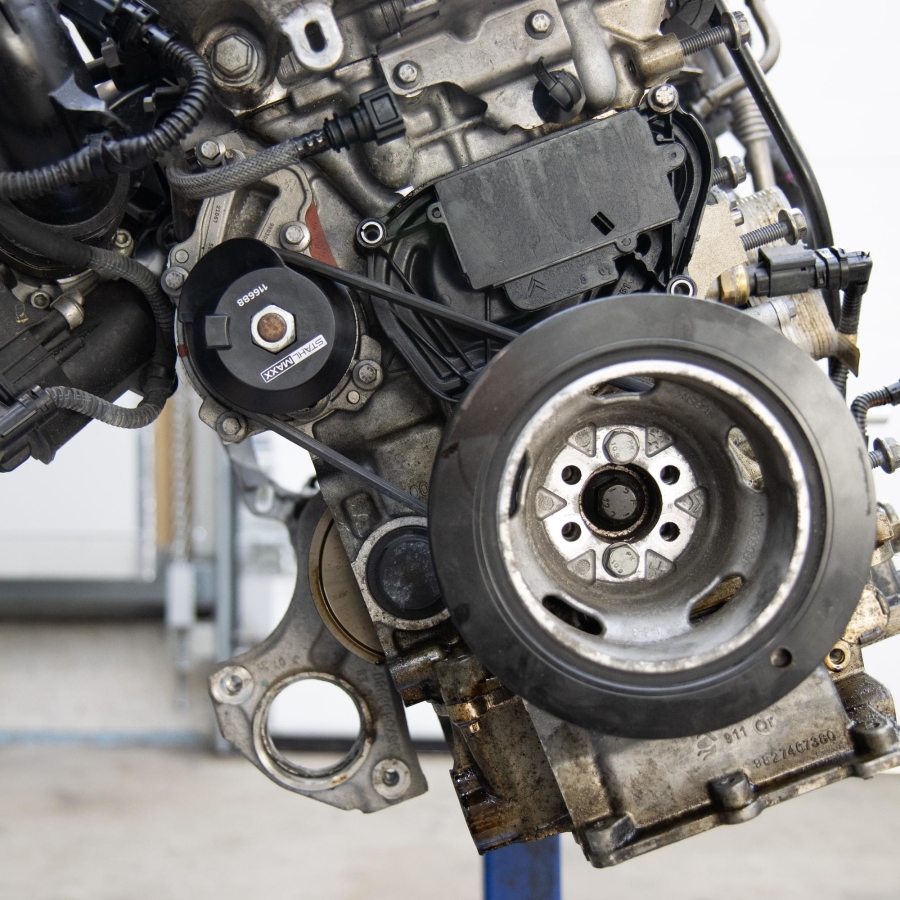
The engine family is installed across Alfa Romeo, Citroën, DS, Fiat, Jeep, Lancia, Opel and Peugeot. Compatible codes include EB2LTD, EB2LTED, EB2LTEDH2, HPX and HPY variants.
Vehicle model, production date and engine family alone are not enough. Confirm the full engine code and the actual timing-drive layout before starting work.
Confirm that the engine is the chain-driven third-generation version.
Match the exact engine variant to the current repair information and tool application.
Inspect the installed system instead of assuming that every 1.2L EB engine uses the same drive.
Three controls, three different tasks
TDC, camshaft position and adjuster support must not be confused
A correct repair depends on several tools working together. One establishes the crankshaft reference, another confirms the basic position of the camshafts, and a separate fixture supports and positions the camshaft adjusters. Using one of these tools to perform another tool’s job transfers load into parts that were only designed for positioning.
Crankshaft reference
The appropriate crankshaft locking tool establishes a TDC position at the flywheel. However, the engine reaches TDC twice during a complete four-stroke cycle.
Workshop consequence: the camshaft position must confirm that cylinder 1 is at the correct TDC for timing work.
Camshaft and adjuster tools
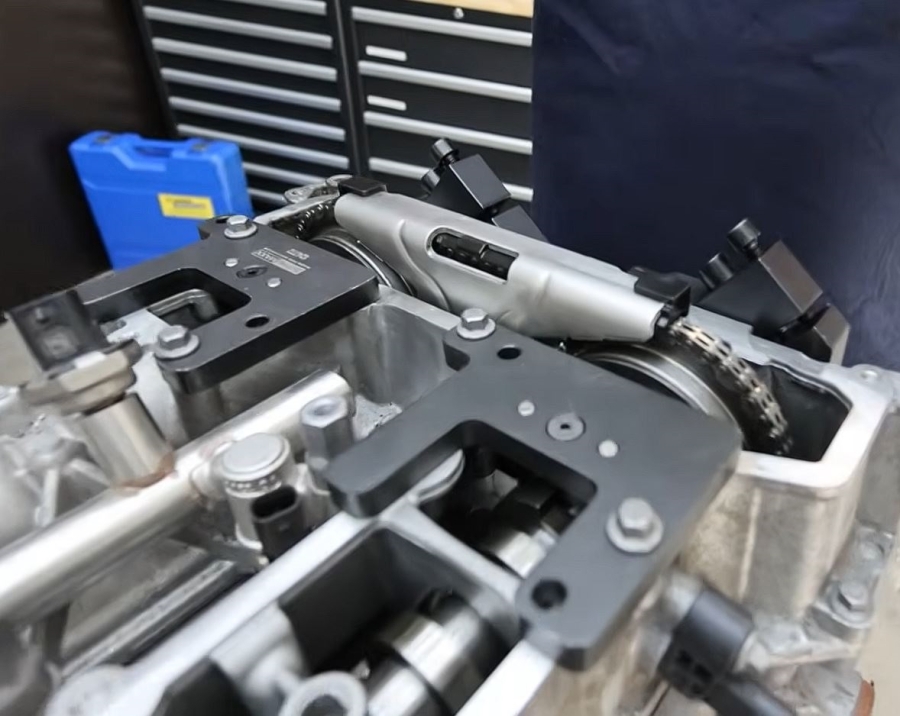
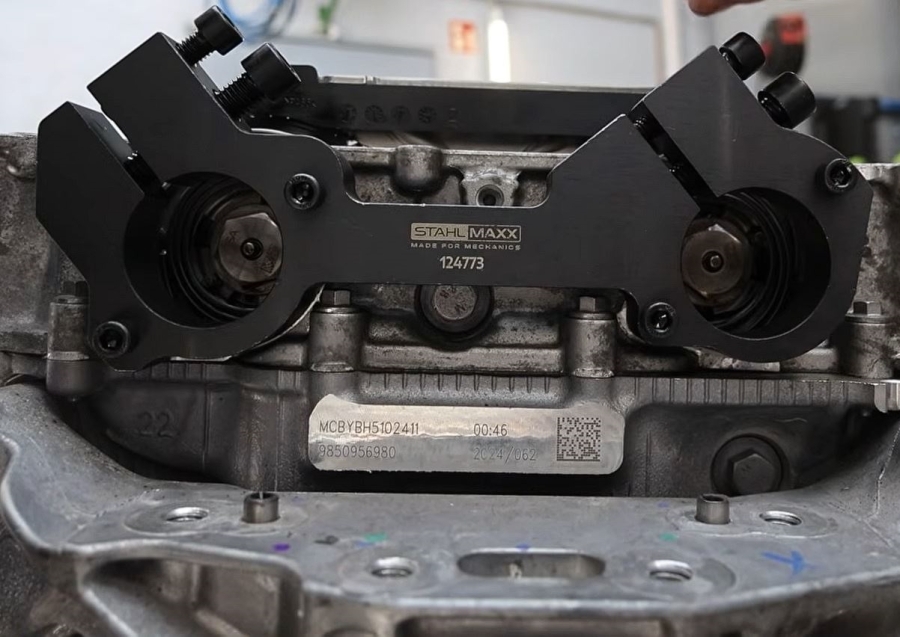
The camshaft locks establish the shafts’ basic position. The adjuster fixture supports the camshaft adjusters during loosening, pretensioning and final setting.
Workshop consequence: the camshaft locks are not substitutes for the adjuster holding tool.
Workshop procedure
A controlled sequence from engine identification to final verification
The sequence below explains the working logic. It does not replace the current manufacturer procedure for the exact vehicle. Removal steps, replacement parts, sealing instructions, single-use fasteners, tightening data and checking procedures must always be verified before work begins.
Confirm the engine and prepare access
Verify the engine code and chain-driven Gen 3 layout. Follow the vehicle-specific procedure for removing covers, the auxiliary drive and any components that obstruct access to the timing system.
Establish the correct cylinder 1 TDC
Install the applicable crankshaft locking tool and rotate the engine carefully by hand until the tool reaches its prescribed flywheel position. Then check the camshaft orientation. If the locking faces are in the wrong phase, rotate the crankshaft one further complete revolution.
Fit the camshaft locking tools without force
Both locks should sit flat against the cylinder head and align naturally with the camshafts. Do not use the retaining bolts to pull a misaligned tool into place. A poor fit indicates an incorrect engine position or another condition that must be resolved first.
Install the camshaft-adjuster fixture
Mount the fixture with its adjustments initially loose, engage the two identical locking elements with the adjusters and then secure the assembly. This fixture is used to support the adjusters when their fasteners are loosened and later during pretensioning and final setting.
Remove the chain drive under control
With the shafts locked and the adjusters properly supported, follow the repair procedure for removing the pulley, crankshaft centre bolt, guides, tensioner, chain and adjusters. Keep the crankshaft sprocket controlled so that it cannot drop into the engine.
Inspect the complete timing assembly
Inspect the chain, sprockets, guides, adjusters, tensioner, sealing surfaces and fasteners according to the manufacturer’s repair information. A chain replacement should not be treated as an isolated component swap when adjacent wear or damage is visible.
Install, pretension and release the tensioner
Assemble the timing system in the prescribed order. The tensioner requires particular attention: only the smaller locking mechanism must be engaged during installation, and the mechanism must be deliberately released after the chain drive is assembled.
Torque, rotate manually and recheck
Complete the specified pretensioning and final tightening stages, remove the tools and rotate the engine manually through the verification cycle stated in the current repair information. Return to the correct cylinder 1 TDC and confirm that all locking tools can be refitted without force.
Inspect the timing package as a system
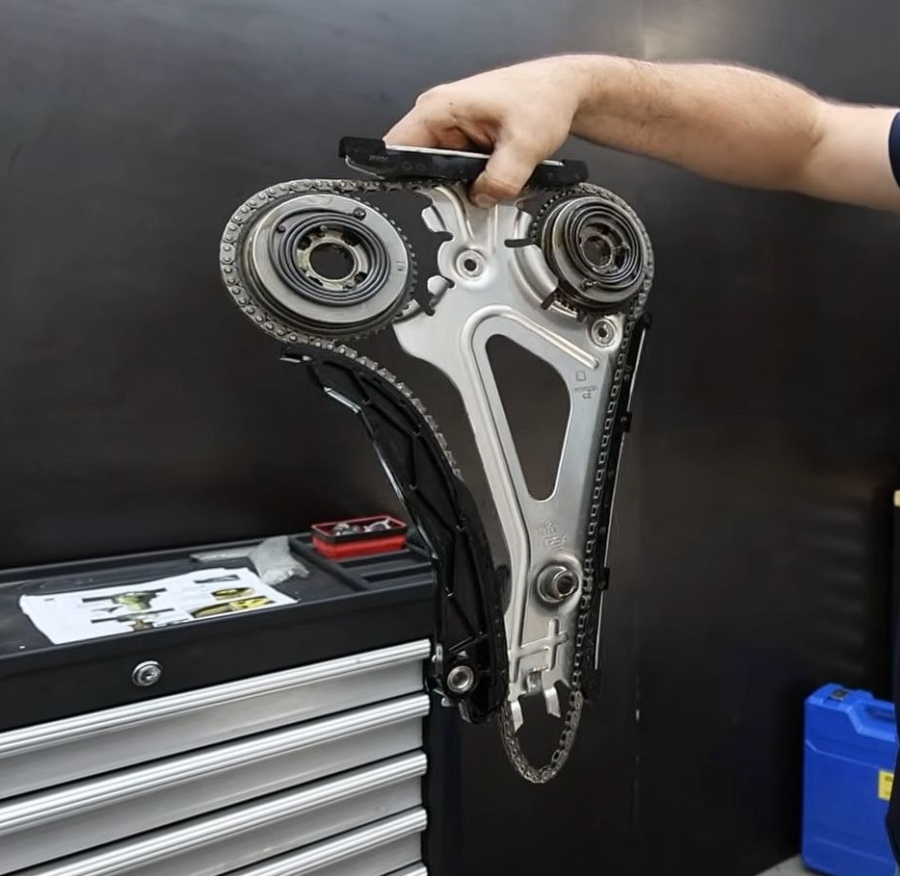
With the chain assembly removed, check more than chain length alone. Guide surfaces, sprocket teeth, adjuster movement, tensioner condition and oil-fed components all influence the service life and stability of the renewed drive.
Any decision to reuse the tensioner or another timing component must follow the current repair specification for that engine variant.
Critical installation detail
A fitted tensioner is not necessarily an active tensioner
The tensioner’s locking state must be controlled during installation and then positively released. If the wrong locking mechanism is engaged—or if the smaller lock does not release—the chain can remain without the intended tension even though the tensioner is physically installed.
The release sequence
- Reset the tensioner correctly: only the smaller locking mechanism should remain engaged for installation.
- Install the tensioner: use the prescribed sealing parts and follow the engine-specific assembly sequence.
- Apply the release movement: on the referenced EB2LTD UE64 procedure, turn the intake camshaft adjuster at the locking fixture with 20 Nm in the engine’s direction of rotation.
- Confirm release visually: verify that the locking mechanism has disengaged and that the tensioner is active before completing the repair.
Technical reference · EB2LTD UE64
Pretension and final tightening are separate operations
The following figures are reference values for the stated 1.2L petrol engine procedure. Confirm the applicable values for the exact vehicle and engine before use. Also verify the viewing direction used to define clockwise and counterclockwise rotation.
| Component | Pretension / preparation | Final tightening |
|---|---|---|
| Intake camshaft adjuster | 20 Nm clockwise | 40 Nm |
| Exhaust camshaft adjuster | 20 Nm counterclockwise | 40 Nm |
| Crankshaft centre bolt | 50 Nm | Continue by 190° |
Reference only: always verify the latest manufacturer repair data, replacement-fastener requirements and angle-tightening procedure for the exact application.
Workshop risk control
Common errors and why they matter
| Error | Possible consequence | Correct control |
|---|---|---|
| Selecting tools by engine capacity alone | Wet-belt and chain-driven generations can be confused. | Confirm generation, engine code and installed timing drive. |
| Stopping at the first crankshaft TDC position | Cylinder 1 may be at the wrong phase of the four-stroke cycle. | Confirm the position with the camshaft locking faces. |
| Pulling camshaft locks into place with bolts | An incorrect position is hidden and load is introduced into the tool or valvetrain. | The tools must align and sit flat without force. |
| Using camshaft locks as counterholds | Positioning tools or engine components can be overloaded while fasteners are loosened. | Use the dedicated adjuster fixture and a separate crankshaft counterhold where required. |
| Installing the tensioner without checking its lock | The chain may remain incorrectly tensioned after assembly. | Engage only the smaller lock, perform the release step and confirm it visually. |
| Starting the engine when a lock will not refit | Incorrect timing can lead to poor running or internal engine damage. | Stop and repeat the timing verification; never force a tool into place. |
The timing tool set · Item no. 124774A
One coordinated system for the complete positioning sequence
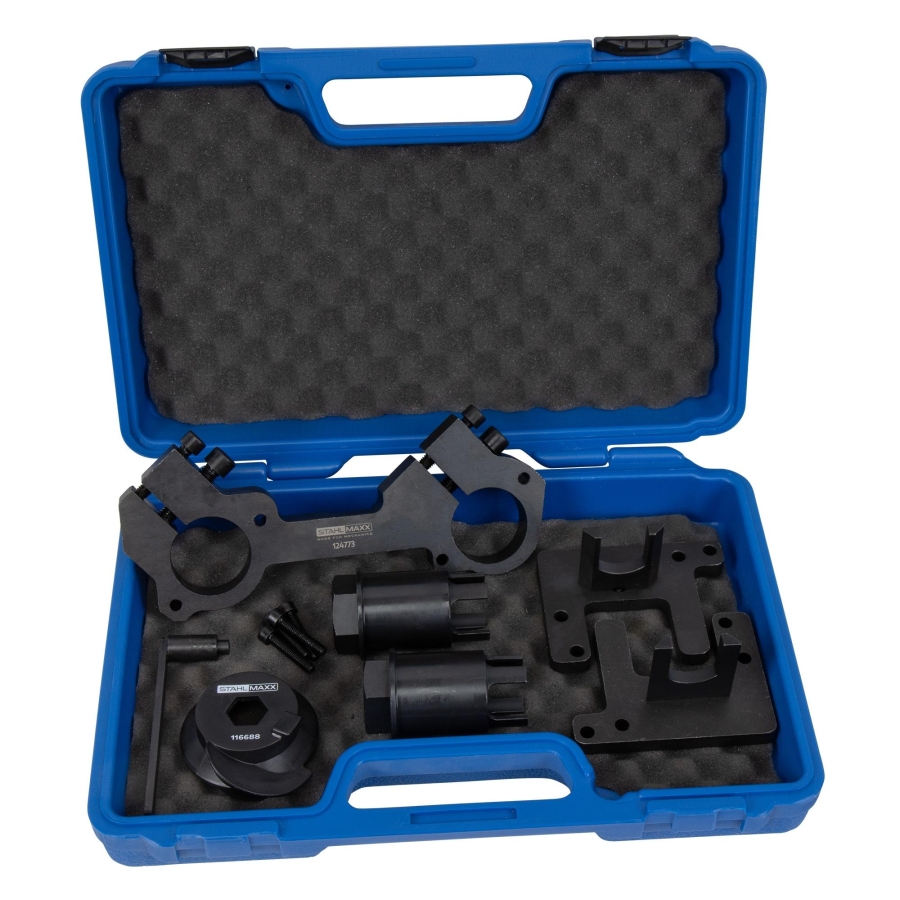
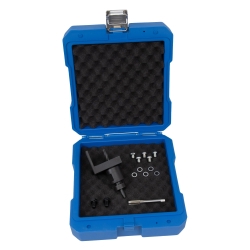
The PSA EB2/EB3 Gen 3 timing chain tool set combines the crankshaft locks, camshaft locking tools, camshaft-adjuster holding and setting fixture and stretch-belt installation tool required across the covered engine variants.
Organised for the complete job
The required locking, holding and belt-installation tools are kept together for repeat workshop use.
Item no. 124774A
Crankshaft and camshaft references
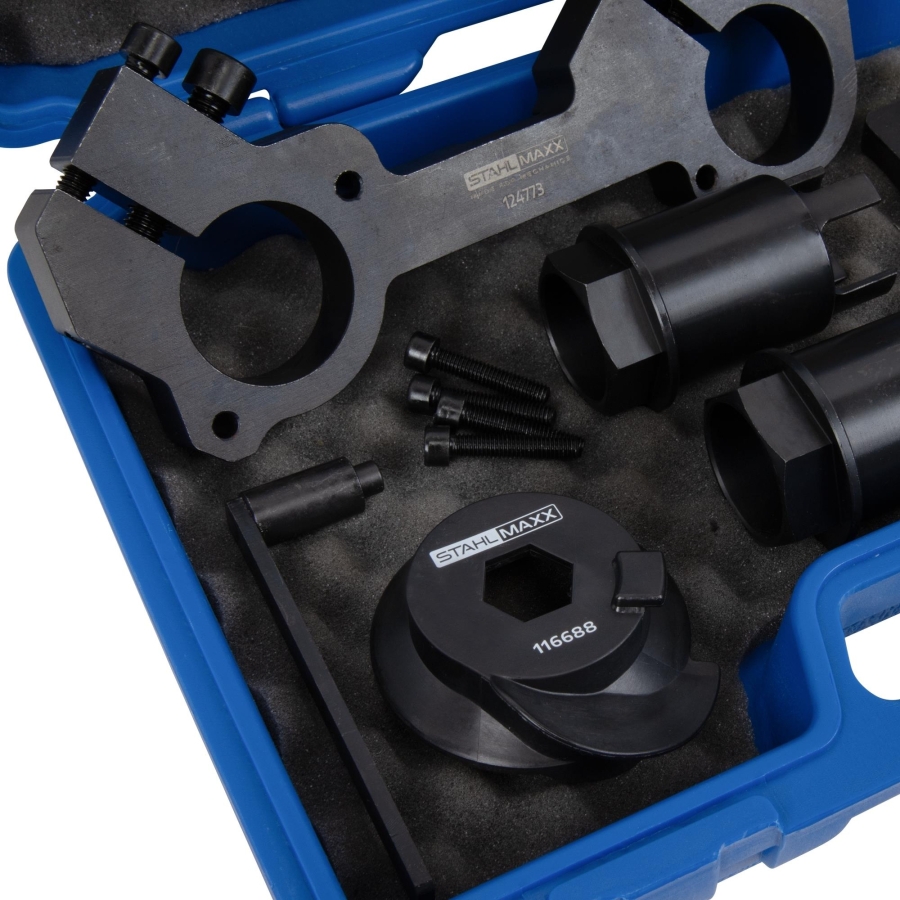
Two crankshaft locks cover the applicable engine versions, while the camshaft tools establish the correct basic position.
For EB2/EB3 Gen 3 chain engines
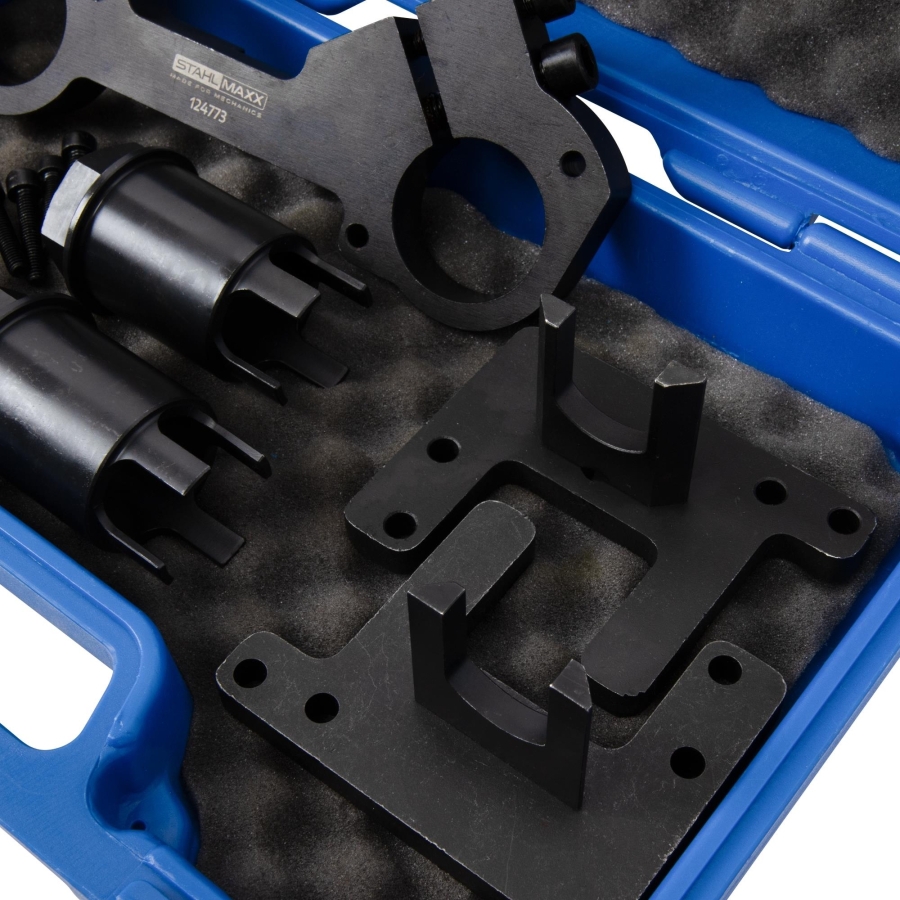
Adjuster holding and setting fixture
The fixture supports the camshaft adjusters during loosening, pretensioning and final positioning.
For use as PSA 0109-7B series / Stellantis 2000037369
Scope at a glance
- Two crankshaft locking tools for the applicable engine configurations
- Camshaft locking tools for 1.2L EB2/EB3 Gen 3 chain engines
- Camshaft-adjuster holding and setting fixture
- Special tool for installing the elastic / stretch ribbed belt
- Storage arrangement for the complete set
Tool references: for use as PSA 0109-7A, the 0109-7B series and related references; Stellantis 2200008380 and 2000037369.
Original numbers are for comparison only; not original tools.
Related workshop operations
Two jobs that often accompany timing-chain access
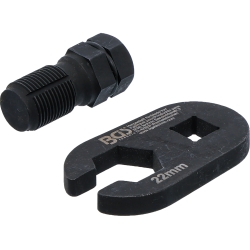
Once the pulley and front cover are removed, the workshop may also need to control the high crankshaft-bolt torque or assess the front crankshaft oil seal. The tools for these operations are separate and are not included in the timing set.
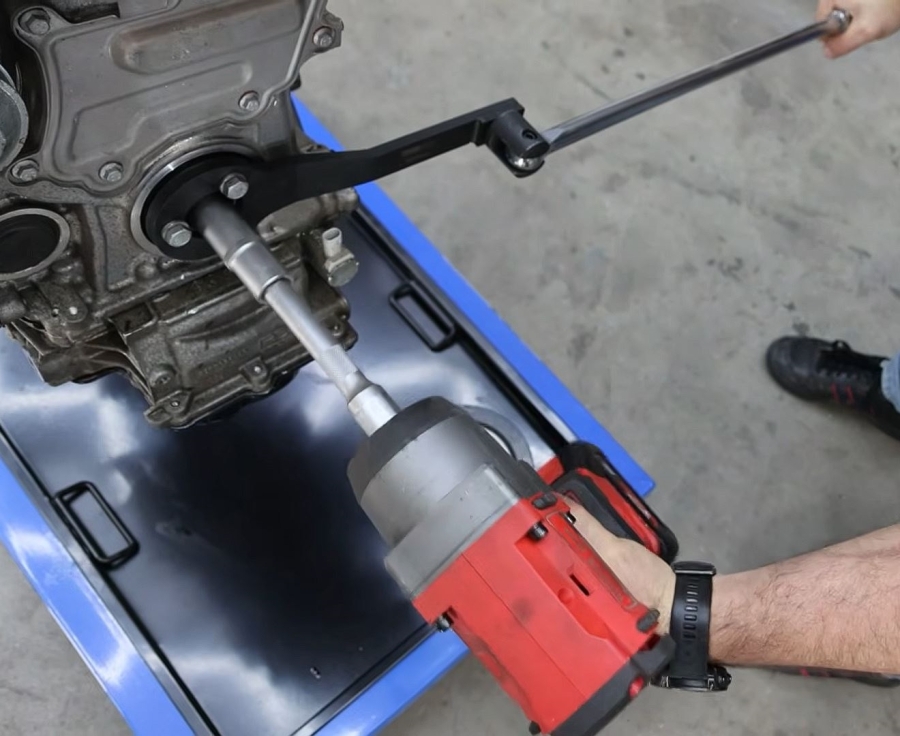
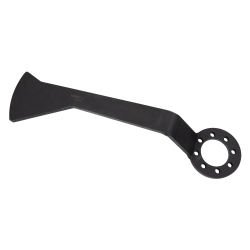
Crankshaft counterhold
A dedicated counterhold absorbs the high loosening and tightening torque. Timing locks should not be used as substitutes for a torque-reaction tool.
View the counterhold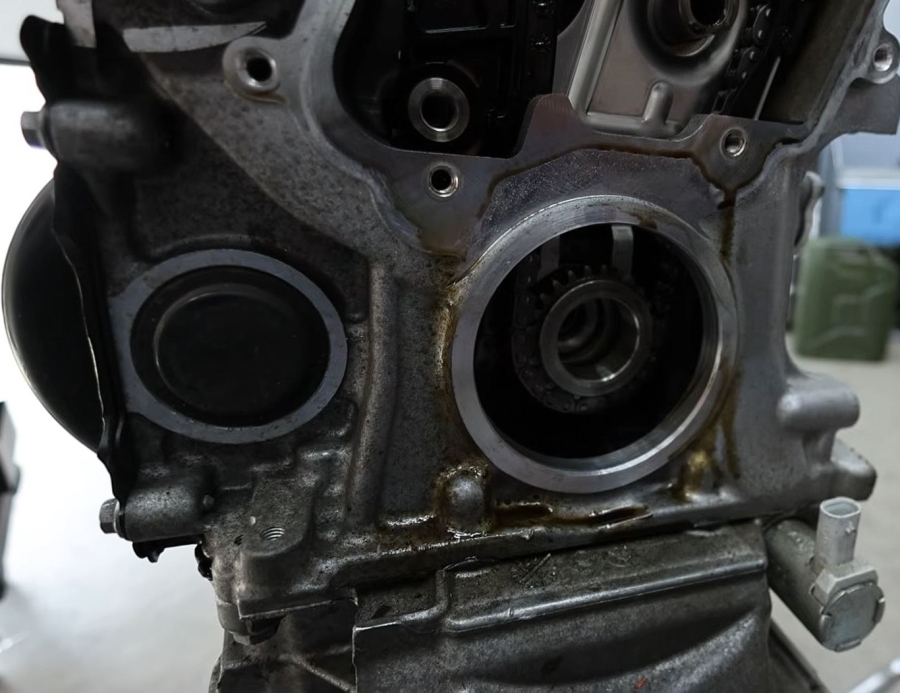
Front crankshaft oil seal
If the seal is renewed, a dedicated installation adapter guides it in squarely and to the specified depth without damaging the sealing lip.
View the seal installation toolBefore first start
The final check must prove the timing—not merely suggest it
- Exact engine code and chain-driven Gen 3 version confirmed
- Correct cylinder 1 TDC established
- Both camshaft locks seated flat without force
- Adjusters supported by the dedicated fixture
- Tensioner’s smaller lock released and visually confirmed
- All reference and final torque stages completed
- Engine rotated manually through the specified verification cycle
- All locking tools refit naturally at the final check position
The engine family is familiar. The timing procedure is not.
Correct identification and separate control of crankshaft position, camshaft position, adjuster load and tensioner release turn the Gen 3 chain job into a repeatable workshop process. The dedicated set brings those references together instead of relying on improvised marks or tools designed for the earlier wet-belt engine.
View the PSA EB2/EB3 Gen 3 timing tool set


Post comment