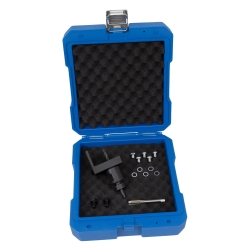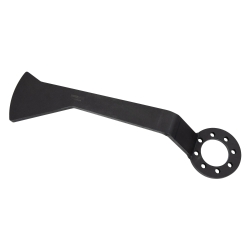
Rear Axle Control Arm Bush Tool for BMW E36 & E46
-
Code:8480
-
Weight:3.450 Kgs
Overview:
✔ Professional tool for servicing rear axle control arm bushes
✔ Suitable for BMW E36, E46 and E46 Compact models
✔ Designed for removing original factory-installed rubber bushes
✔ Suitable for installing and removing replacement slotted rubber bushes
✔ Hardened construction for durability and long service life
✔ Enables efficient bush replacement without damaging surrounding components
✔ Suitable for professional workshop use

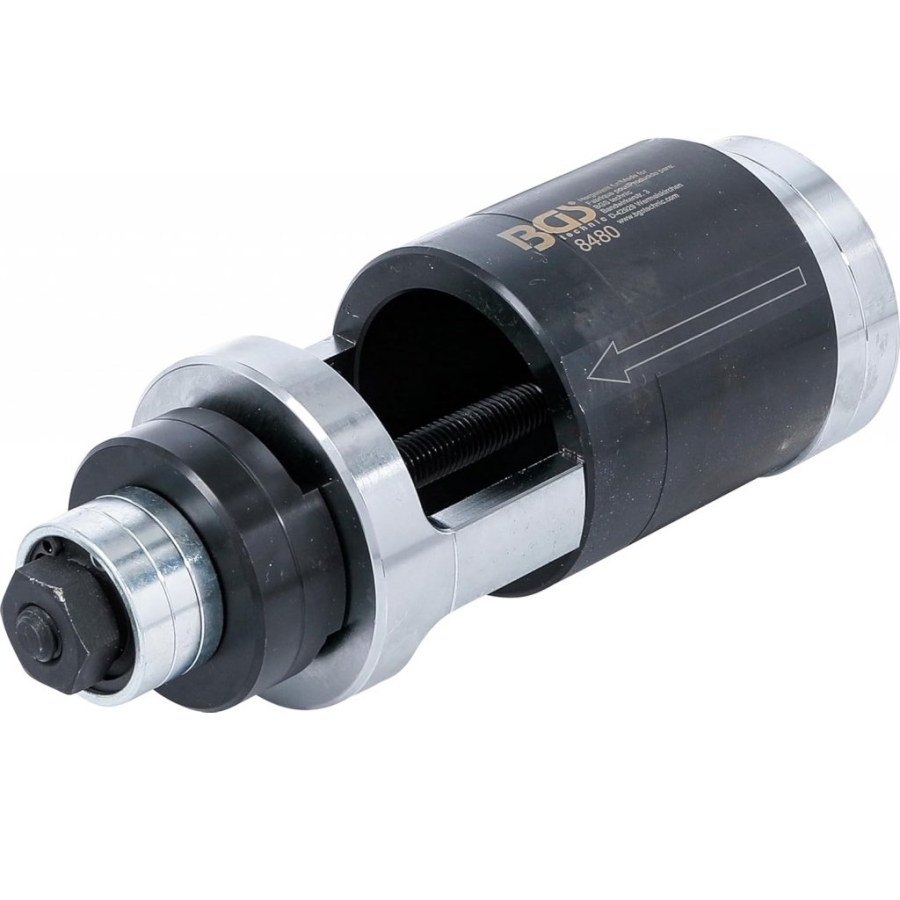
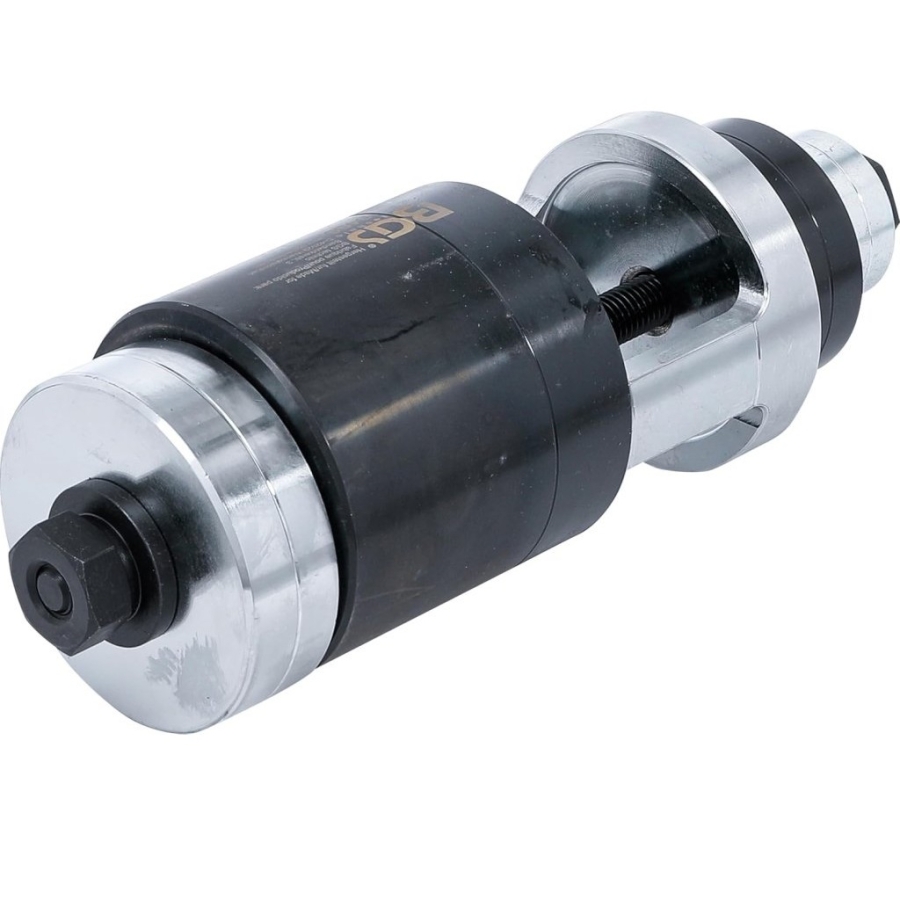
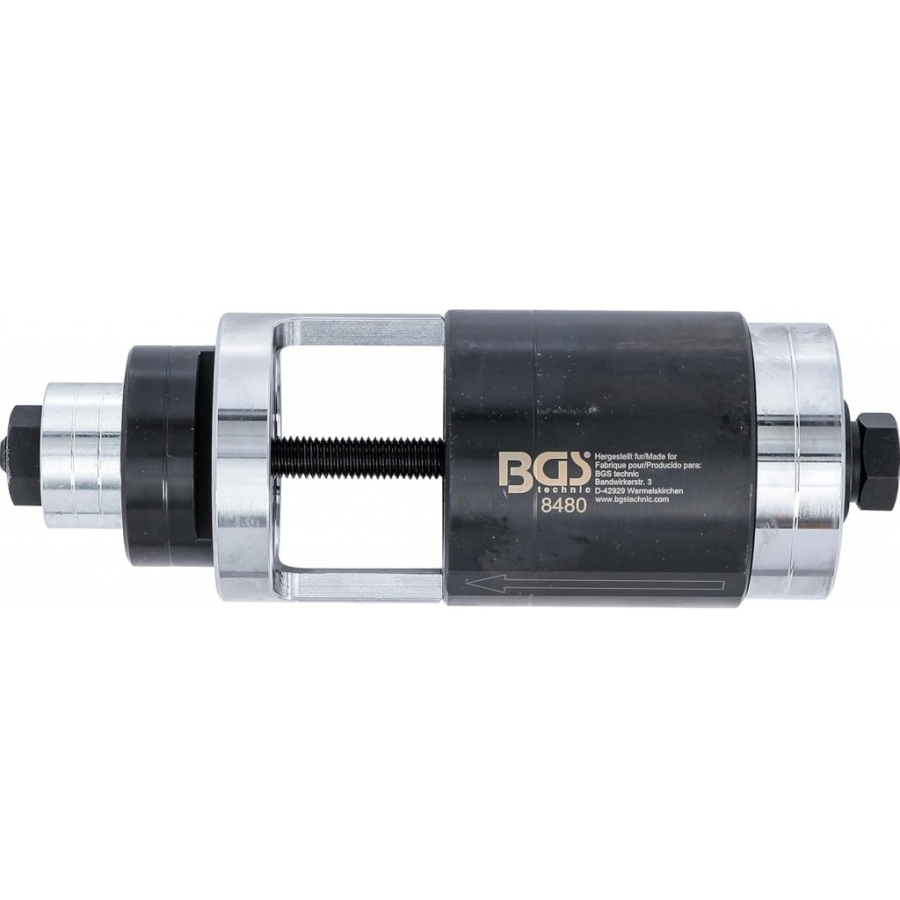
This specialist tool is designed for the removal of original rear axle control arm rubber bushes and for the installation and removal of replacement slotted rubber bushes on compatible BMW vehicles.
The tool allows precise and controlled bush service, helping reduce repair time while minimizing the risk of damage to suspension components during removal and installation.
Designed for BMW Applications
Suitable for:
- BMW 3 Series: E36
- BMW 3 Series: E46
- BMW 3 Series Compact: E46 Compact
The tool is specifically designed for servicing rear axle control arm bushes fitted to these vehicle platforms.
Hardened Construction
Manufactured from hardened steel, the tool is built to withstand the high loads encountered during bush extraction and installation. The durable construction ensures reliable performance and a long service life in professional workshop environments.
Applications
Suitable for:
- Removal of original factory-installed rubber bushes
- Removal of replacement slotted rubber bushes
- Installation of replacement slotted rubber bushes
- Rear axle suspension maintenance and repair
Package Contents
- 1 × Rear axle control arm bush service tool set
Original part and tool numbers are provided for reference and comparison purposes only. This product is not an original BMW tool.
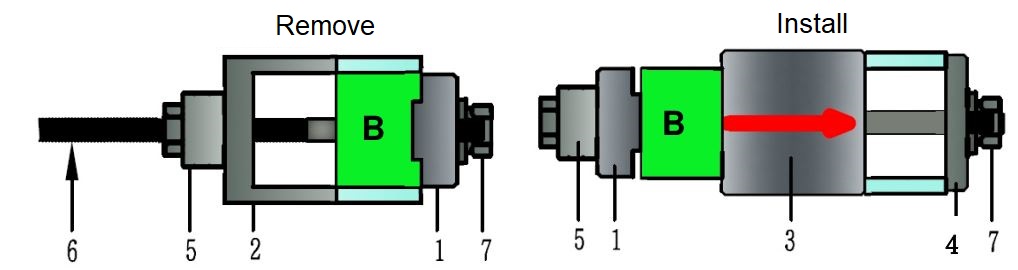
B = Bushing
Note: Clearly mark the position and orientation of the trailing arm mounting bolt before removal. This ensures that the original wheel alignment settings can be maintained during reassembly.
Preparation
-
Safely support the vehicle and follow all instructions specified in the vehicle manufacturer's repair manual.
-
Carefully record and mark the orientation and position of the original bushing.
-
Inspect the condition of the tool thoroughly and replace any damaged or worn components before use.
-
Ensure that the threaded spindle (6) and hex nut (5) are properly lubricated with grease.
-
Apply penetrating oil to the old bushing and allow it to soak for several minutes.
Removing the Old Bushing
-
Assemble the tool as shown, using the appropriate components for either a standard bushing or a slotted bushing.
Important: Always press the bushing out from the center of the vehicle toward the outside.
-
Hold the hex nut (7) securely on the opposite side.
-
Verify that the tool is correctly aligned.
-
Using a 24 mm wrench, slowly tighten the thrust bearing nut (5) to press out the bushing.
Note: If the bushing does not move as expected, stop and check:
-
The alignment of the tool.
-
That the tool is not binding or misaligned.
-
That penetrating oil has been applied and allowed to penetrate.
Installing the New Bushing
BMW has introduced a new slotted trailing arm bushing for the 3 Series. Before installation into the trailing arm, this bushing must be compressed using the pressure sleeve (3).
Preparing the New Bushing
-
Compress the new slotted bushing using pressure sleeve (3).
-
Ensure that the slot in the bushing is correctly aligned with the arrow marked on pressure sleeve (3).
-
Align the new bushing according to the reference marks made during removal.
Installing the New Bushing into the Trailing Arm
Note: The new bushing must be pressed into the trailing arm toward the center of the vehicle.
-
Assemble the tool as illustrated, placing the new bushing into the end of the pressure sleeve.
-
Verify that the bushing slot is correctly positioned beneath the arrow on the pressure sleeve.
-
Hold the hex bolt on the opposite side to prevent rotation.
-
Ensure the tool is correctly aligned and that the pressure sleeve is square to the trailing arm.
-
Using a 24 mm wrench (or a deep socket with ratchet), slowly tighten the thrust bearing nut (5).
Final Installation Position
Press the bushing into place until the metal outer sleeve protrudes 2.5 mm beyond the outer face of the trailing arm.
Important Notes
-
If the bushing does not move as expected at any point during installation, stop immediately and recheck tool alignment before proceeding.
-
Do not apply excessive grease to the outer surface of the new bushing, as this may cause installation issues.
-
Always lubricate the spindle threads and nut before use.
-
Use the tool only as intended and do not apply excessive force, as this may accelerate wear or cause failure of the spindle and nut.
-
Use hand tools only.
-
If excessive resistance is encountered, stop work and verify correct tool positioning and alignment before continuing.