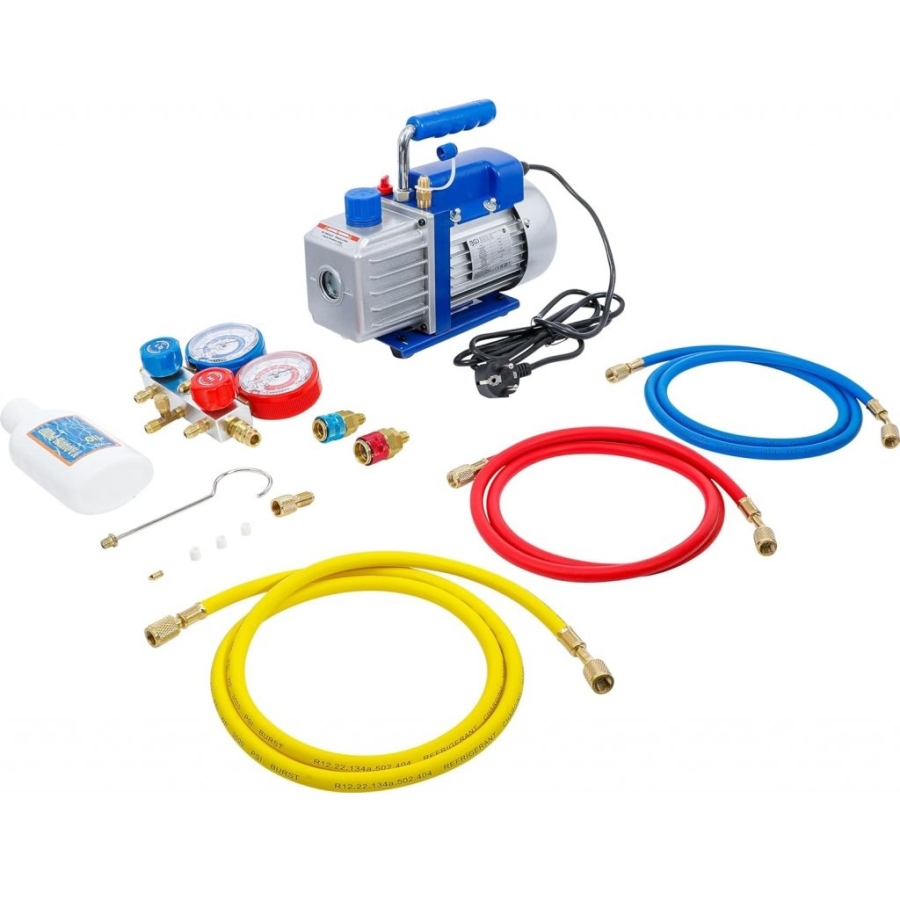
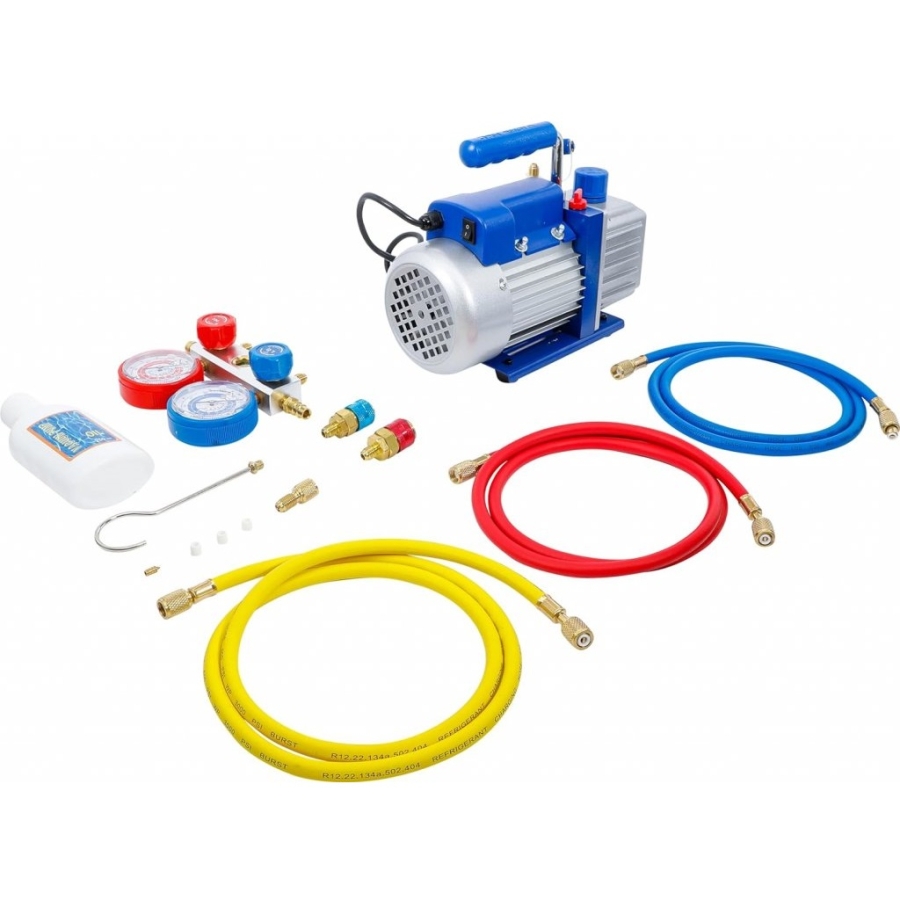
Single-Stage Vacuum Pump / Negative Pressure Pump
-
Code:74263
-
Weight:8.674 Kgs
Overview:
✔ Professional single-stage rotary vane vacuum pump
✔ Suitable for A/C system service and vacuum applications
✔ Compatible with R12, R22 and R134a systems
✔ Flow rate: 57 l/min (2 CFM)
✔ Ultimate vacuum pressure: 10 Pa
✔ Robust aluminum housing with efficient heat dissipation
✔ Quiet and smooth operation with electromagnetic clutch
✔ Suitable for continuous workshop operation

This single-stage rotary vane vacuum pump is designed for creating vacuum conditions in closed systems by extracting gases from containers or systems. The unit is suitable for professional workshop use and multiple vacuum-related applications.
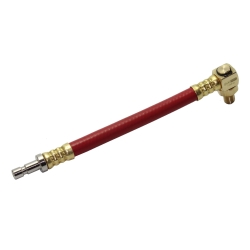
The pump is particularly suitable for air conditioning system repairs, vacuum packaging, gas analysis and thermoforming of plastics. When used for vehicle A/C systems, a compatible manifold gauge set is additionally required, such as Item No. 8425.
Applications
Suitable for:
- Vehicle A/C system repair
- R12 air conditioning systems
- R22 air conditioning systems
- R134a air conditioning systems
- Vacuum packaging
- Gas analysis
- Thermoforming of plastics
Features
- Special gas inlet design prevents oil backflow and contamination of containers and hoses
- Oil separation system at the outlet reduces oil splashing and contamination
- Aluminum alloy motor housing for improved heat dissipation
- Compact and lightweight construction
- Easy startup even at low temperatures
- High pumping efficiency
- Electromagnetic clutch for extremely quiet and smooth operation
- Durable aluminum housing
Technical Specifications
- Product type: Single-stage vacuum pump
- Pump type: Rotary vane vacuum pump
- Power supply: 220–240 V / 50 Hz
- Flow rate: 57 l/min (2 CFM)
- Ultimate vacuum pressure: 10 Pa
- Oil capacity: 250 ml
- Housing material: Aluminum
Important Information
For operation on vehicle A/C systems, an additional manifold gauge set is required, such as Item No. 8425.
A connection hose is not included in delivery.
Workshop Benefits
- Efficient vacuum generation for multiple applications
- Low-noise operation for improved workshop comfort
- Compact and lightweight construction
- Reliable performance during continuous operation
- Suitable for professional workshop environments
INSTALLATION
During operation, the pump should be placed horizontally in a dry, well-ventilated area that is free from dust and other contaminants.
To ensure proper airflow, maintain a clearance of at least 10 cm (4 inches) around the pump.
For permanent installation of the vacuum pump, remove the rubber feet from the bottom of the base and use the existing mounting holes to secure the unit.
When permanently mounting this pump, ensure sufficient clearance around the unit, especially at the end of the vane housing.
If a dedicated solenoid valve is required, it can be installed at the gas inlet.
OPERATION
- Check the oil level before use. The oil level must not be below the oil level line in the sight glass. Do not operate the pump with a low oil level; first fill oil up to the oil level line.
- Select a connection hose equipped with a shut-off valve and suitable for creating a vacuum. The hose should also be short, airtight, and free from dust, dirt, and excessive condensation.
- Connect one end of the connection hose to the gas inlet on the pump and connect the other end, fitted with the shut-off valve, to the container from which gas is to be evacuated.
- Check the system for leaks before operating the pump.
- Plug the power cord into an electrical outlet and switch on the pump using switch.
- Close the shut-off valve on the selected connection hose once sufficient vacuum has been achieved.
- Switch off the vacuum pump using switch, disconnect the vacuum pump, and remove the connection hose.
MAINTENANCE
-
Keep the pump clean and prevent foreign objects from entering it.
- Maintain the oil level at the oil level line. Never operate the pump without oil.
-
Keep the oil clean. If the oil becomes contaminated, sludgy, or if water or other volatile substances enter the oil, pump performance may be affected and the oil should be replaced.
Before changing the oil, start the pump and let it run for approximately 30 minutes to thin the oil. Stop the pump and drain the oil through the oil drain plug. Then open the oil filling port, run the pump for approximately 1–2 minutes, and during this time add a small amount of clean oil through the oil filling port to flush out residual oil inside the pump.
Once you have confirmed that the pump is clean, switch off the pump, reinstall the oil drain plug, and fill clean pump oil through the oil filling port until it reaches the oil level line.
- For long-term storage, cover the oil cap and store the pump in a dry location.
- Repairs to the pump should only be carried out by a qualified service technician.