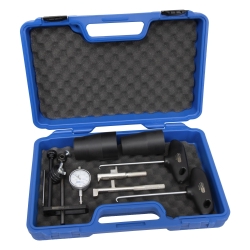
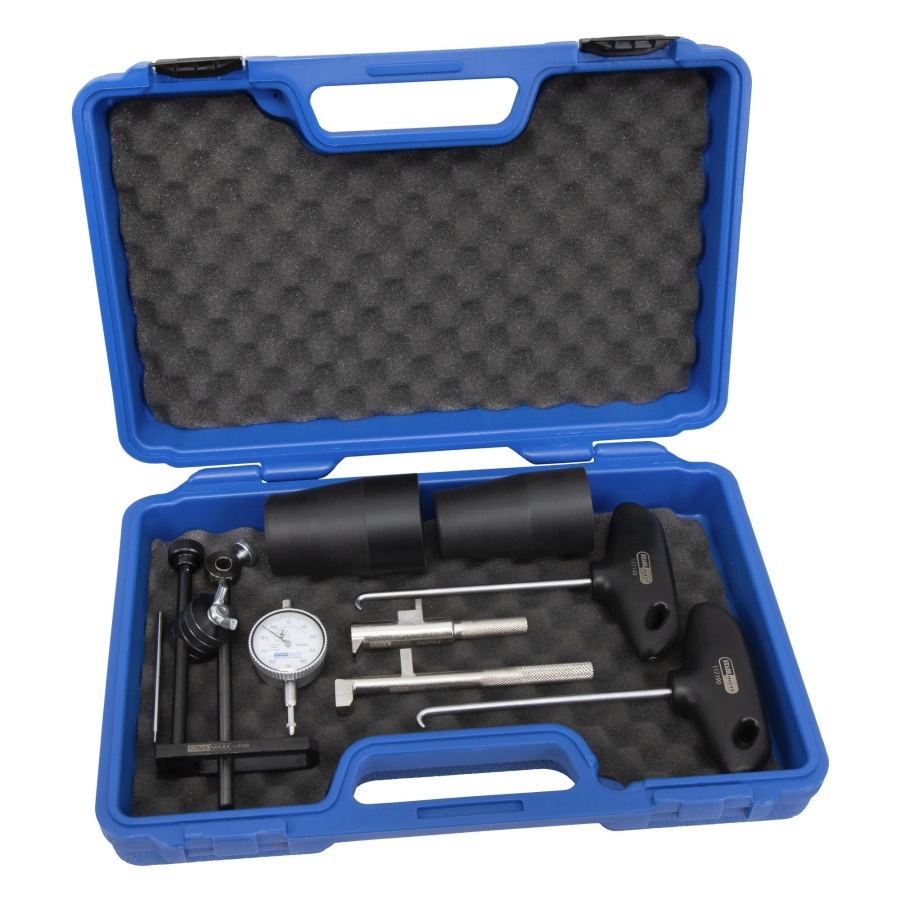
VAG DSG Wet Dual Clutch Tool Set for DQ250, DQ380, DQ381 & DQ500
-
Code:121154B
-
Weight:2.167 Kgs
Overview:
✔ Professional tool set for servicing VAG wet DSG clutch systems
✔ Suitable for DQ250, DQ380, DQ381, and DQ500 transmissions
✔ Designed for replacing wet dual clutch assemblies
✔ Compatible with 6-speed and 7-speed DSG gearboxes
✔ Includes measuring tools, mounting sleeves, holding bolts, and pull hooks
✔ Suitable for Audi, Seat, Skoda, and Volkswagen vehicles
✔ Supports accurate clutch adjustment and sealing cover installation
✔ item no. compatible references: as VW387, T10302, T10303, T10459, T10524

Specialized tool set designed for replacing wet clutch assemblies in VAG 6-speed and 7-speed DSG dual clutch transmissions of the DQ250, DQ380, DQ381, and DQ500 series.
Compared to previous dry clutch DSG generations, measuring and determining adjustment shims is simplified in wet clutch DSG transmissions. Since the clutch assembly operates in transmission oil, a sealing end cover must be installed. To ensure proper sealing and prevent oil leaks, the sealing cover must be installed using dedicated mounting sleeves.
Depending on the transmission code, such as DQ500, it may be necessary to use two holding bolts simultaneously. Additional holding bolts, item no. 116570, to be used as VAG T10524, can be ordered separately if required.
Suitable for professional workshop servicing and transmission repair operations.
Compatible Gearboxes
- DQ250
- DQ380
- DQ381
- DQ500
Compatible Transmission Codes
- 02E
- 0BT
- 0BH
- 0GC
Compatible Transmission Identifications
- MYD
- NFA
- NYF
- NZV
Compatible Vehicles
Audi
- Audi A3
- Audi Q2
- Audi Q3
- Audi S3
- Audi RS3
- Audi TT
- Audi TTS
- Audi SQ2
Seat
- Seat Ateca
- Seat Alhambra
- Seat Leon
- Seat Tarraco
Skoda
- Skoda Karoq
- Skoda Kodiaq
- Skoda Octavia
- Skoda Superb
Volkswagen
- VW Arteon
- VW Caddy
- VW Golf
- VW Passat
- VW T-ROC
- VW Tiguan
Reference Numbers
To be used as:
- VW387
- T10302
- T10303
- T10459
- T10524
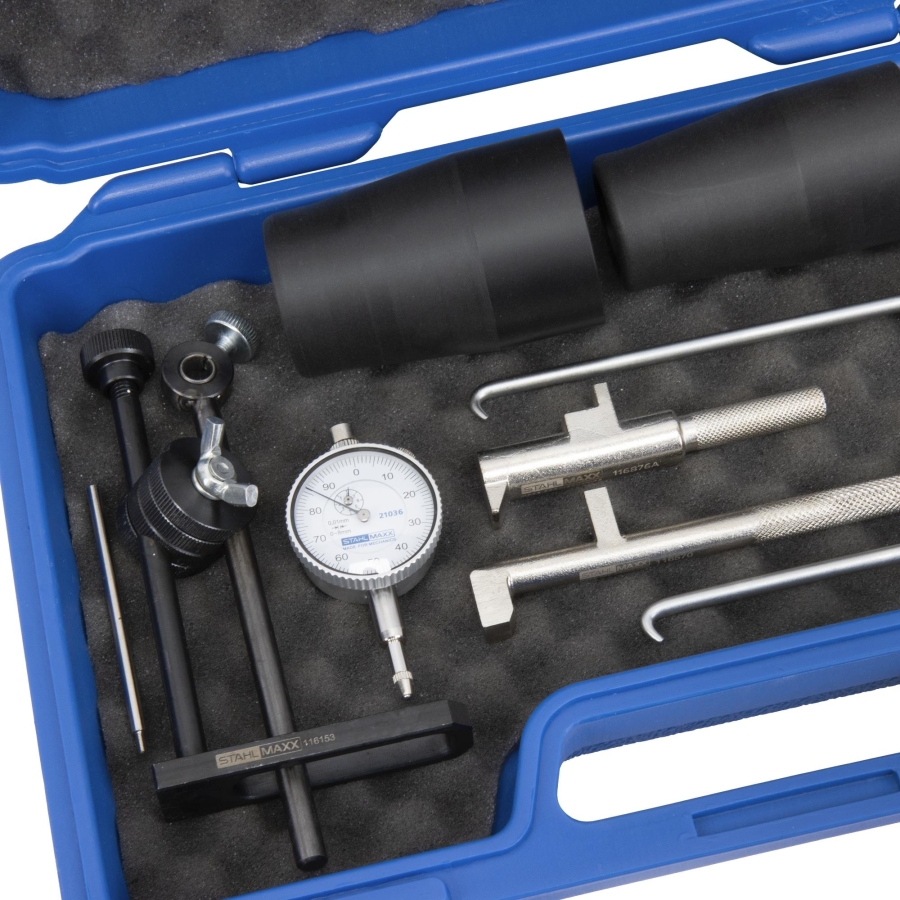
Package Contents
- item no. 21036 Small dial gauge, Ø41 mm, measuring range 0–8 mm
- item no. 116153 Universal dial gauge holder, to be used as VW387
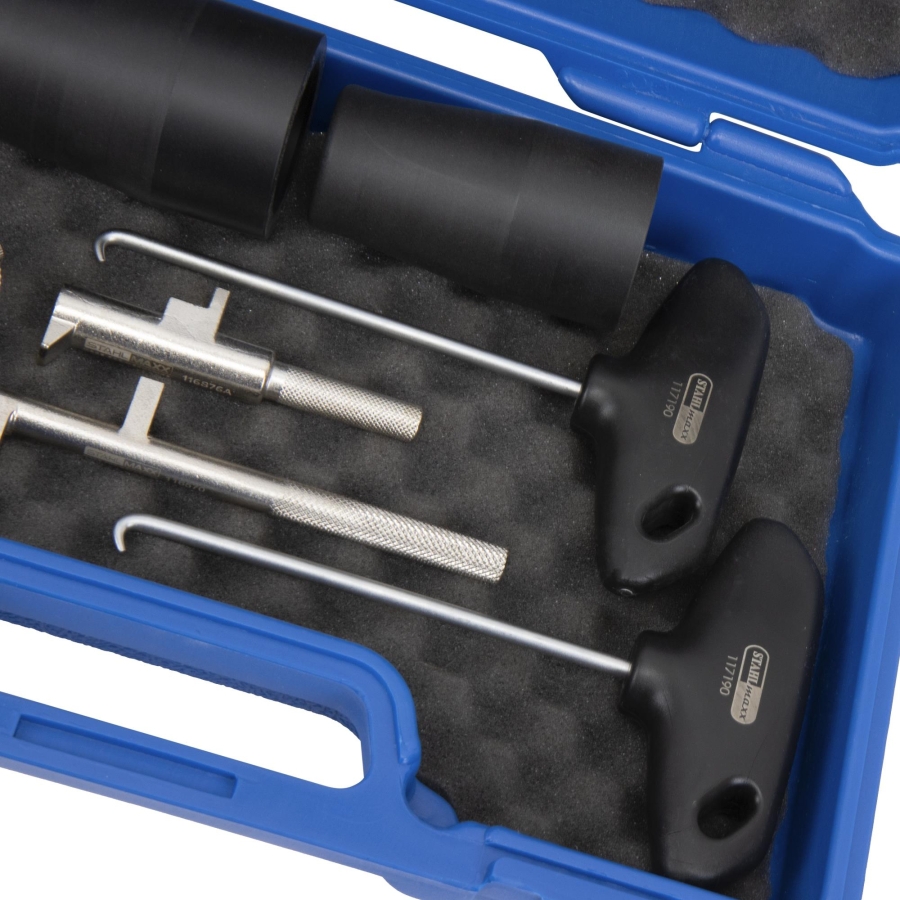
- item no. 116570A Holding bolt for 7-speed DSG clutch installation, to be used as T10524
- item no. 116876A Holding bolt for 6-speed DSG clutch installation, to be used as T10303
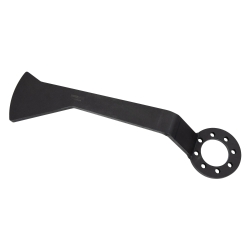
- item no. 117190 Pull hooks for clutch removal, 2 pcs., to be used as 3438
- item no. 118830 Dial gauge extension probe, 83 mm
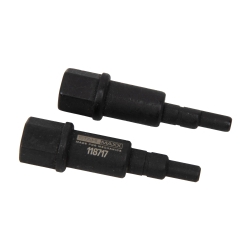
- item no. 120732 Mounting sleeve for 6-speed sealing cover, to be used as T10302
- item no. 120733 Mounting sleeve for 7-speed sealing cover, to be used as T10459
- item no. 51003 Heavy-duty storage case
Original numbers are used for comparison purposes only. This is not an original manufacturer tool.
PROCEDURE:
(Procedure applies to the 0GC 7-speed dual-clutch transmission. Always follow the vehicle manufacturer’s specifications.)
Drain the transmission oil:
- First, remove the vertical drain plug.
- Remove the overflow tube.
- Then remove the side mechatronics drain plug.
- Always allow the oil to drain completely at each step.
Note:
If a beige overflow tube is installed, it must be replaced with a red one.
Remove the end cover:
(DSG transmission removed and mounted horizontally on a workbench or engine stand)
- Carefully pry out the end cover sideways using a screwdriver.
- The end cover and retaining ring must always be replaced.
Remove and install the dual clutch:
Removal:
- Check the drive plate for position markings for reinstallation; mark it yourself if necessary.
- Install retaining pin 116570 / 116876 and use a screwdriver to pry out the retaining ring.
- Remove the drive plate using a suitable tool or puller (to be used similarly to T10525).
- Remove the retaining ring and keep it for measurement purposes.
Caution: Hold the retaining ring securely during removal, as it may fall into the transmission through an opening. - Remove the shim washer.
- Using the two hooks 117190, remove the clutch pack. Do not turn it upside down above the transmission.
Installation:
- Handle the new clutch pack carefully and do not twist the clutch discs.
- Check the piston rings. Their ring gaps should be positioned 180° apart
(1st and 3rd aligned, 2nd and 4th aligned). - Install retaining pin 116570 / 116876 and, if necessary, have a second technician hold it in place.
- Carefully install the dual clutch using the hooks. Do not let it drop into place; rotate slightly if necessary.
- When seated correctly, the retaining pin should only have slight play. Leave it installed until the end cover is mounted.
- Do not rotate the clutch pack any further.
- Remove the drive plate retaining ring, mark the drive plate, and remove it while holding the retaining pin securely.
Determine the shim washer for the dual clutch:
- Temporarily install the “old” retaining ring.
This ring is beveled. Always position the smaller opening upward. - Mount the dial gauge holder to the housing and preload the indicator tip onto the input shaft, then zero the gauge.
- Using both hooks, pull the clutch pack firmly upward and record the reading as VALUE A.
- Position the indicator tip onto the hub between the retaining ring ends.
- Again pull the clutch pack firmly upward using both hooks and record the reading as VALUE B.
Calculate the shim washer thickness:
Shim thickness calculation:
VALUE B – VALUE A – 0.11 mm = Required shim thickness
- Shim washers are available in 0.05 mm increments.
- Always select the next larger available shim size.
Complete the installation:
- Remove the drive plate retaining ring and install the calculated shim washer.
- Reinstall the retaining ring. The retaining pin remains installed.
Verification measurement:
- Position the indicator tip again onto the hub between the retaining ring ends.
- Pull the clutch pack firmly upward using both hooks and record the reading as VALUE C.
Calculation:
VALUE C – VALUE A must be between 0.05 mm and 0.12 mm.
- If outside specification, replace the shim washer.
- Install a new retaining ring.
- Install the drive plate into the dual clutch, observing the alignment markings.
- Have a second technician push the retaining pin outward while carefully driving the drive plate into position using a suitable sleeve.
- Install the new retaining ring, starting at the opening and pressing it clockwise into its final position. Verify correct seating.
- Remove the retaining pin and install the end cover.
Install the end cover:
- Clean installation sleeves 120733 and 120732 and place them on a clean surface.
- Position the cover over the sleeve with the opening facing upward and push the sleeve through once.
- Insert the sleeve into the transmission bell housing.
- Lubricate the outer lip of the cover with oil and slide the cover into position correctly.
- If necessary, carefully lever the cover into place with a screwdriver until the “new” retaining ring can be installed.
- Remove the installation sleeve only after the retaining ring has been installed.
Fill transmission oil:
Note: Never fill through the transmission breather vent.
- Install the overflow tube and use the adapter to prefill approximately 6 liters of oil.
- Start the engine and let it idle.
- Apply the foot brake and cycle through all selector lever positions: “P, R, N, D/S” at idle speed.
- Each position must remain engaged for at least 3 seconds.
- Shift the selector lever back to “P” and do not switch off the engine.
- Bring the transmission oil temperature to approximately 30 °C.
- Allow cooling if necessary.
- Drain any excess oil.